Eftsure_to_Business_Central_integration_process
Integration of Business Central with Eftsure
June 2025
Vendor Onboarding and Payment Verification Process
Executive Summary
This document describes the process of integration between Eftsure and Business Central for vendor onboarding and management, and payment verification.
Eftsure is a B2B payment protection software designed to mitigate risks associated with payment errors, fraud, and cyber-crime. It offers features like supplier verification, real-time vendor and payment alerts, and continuous monitoring to catch fraudulent invoices early in the procure-to-pay process
If Eftsure is connected to an ERP system, like Business Central, then the vendor onboarding process shall start in the ERP. Most of the Eftsure functionality can be triggered within Business Central directly.
Eftsure does support a multi-company integration.
At this stage, the verification of Australian and New Zealand vendor bank accounts is supported.
Eftsure admin setup
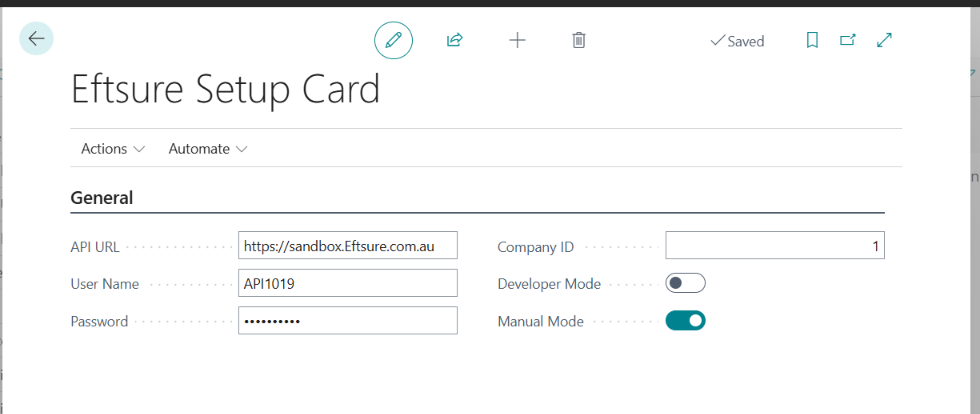
Eftsure Setup Card
Update API URL and credentials received from Eftsure.
Developer Mode: Enable to check the raw responses from Eftsure APIs to assist developers in debugging.
Manual Mode: Enable to make Eftsure actions visible on pages that otherwise would be run using job queues in the background. This is to facilitate on-demand requests.
User Setup
Every Business Central user can use the Eftsure related functions. However, most of them will be done by automation through Job Queue Entries. Specific sensible functionality requires additional setup in the User Setup. These are to control administrative actions like Self-Certification, Activation and De-Activation of Vendors in Eftsure.

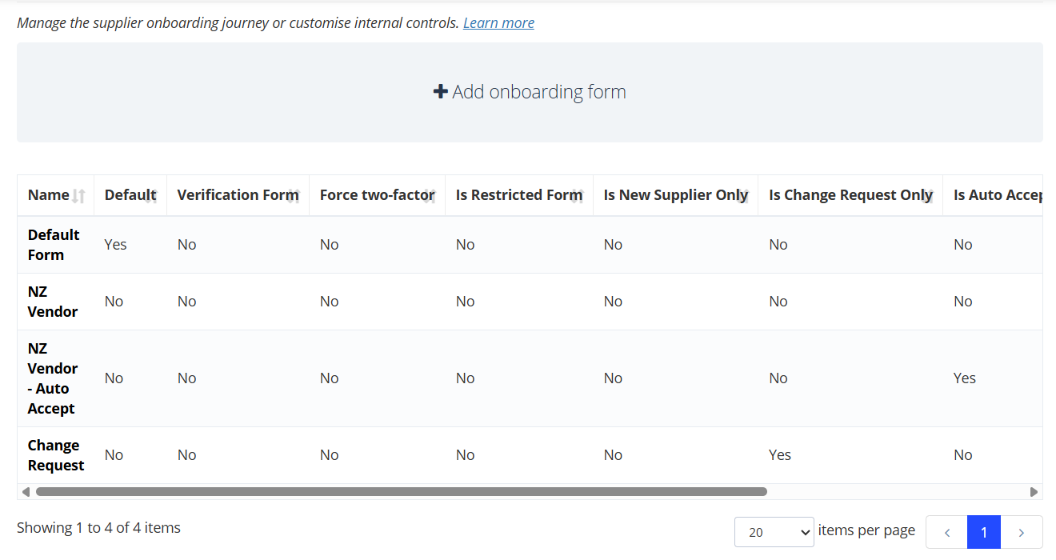
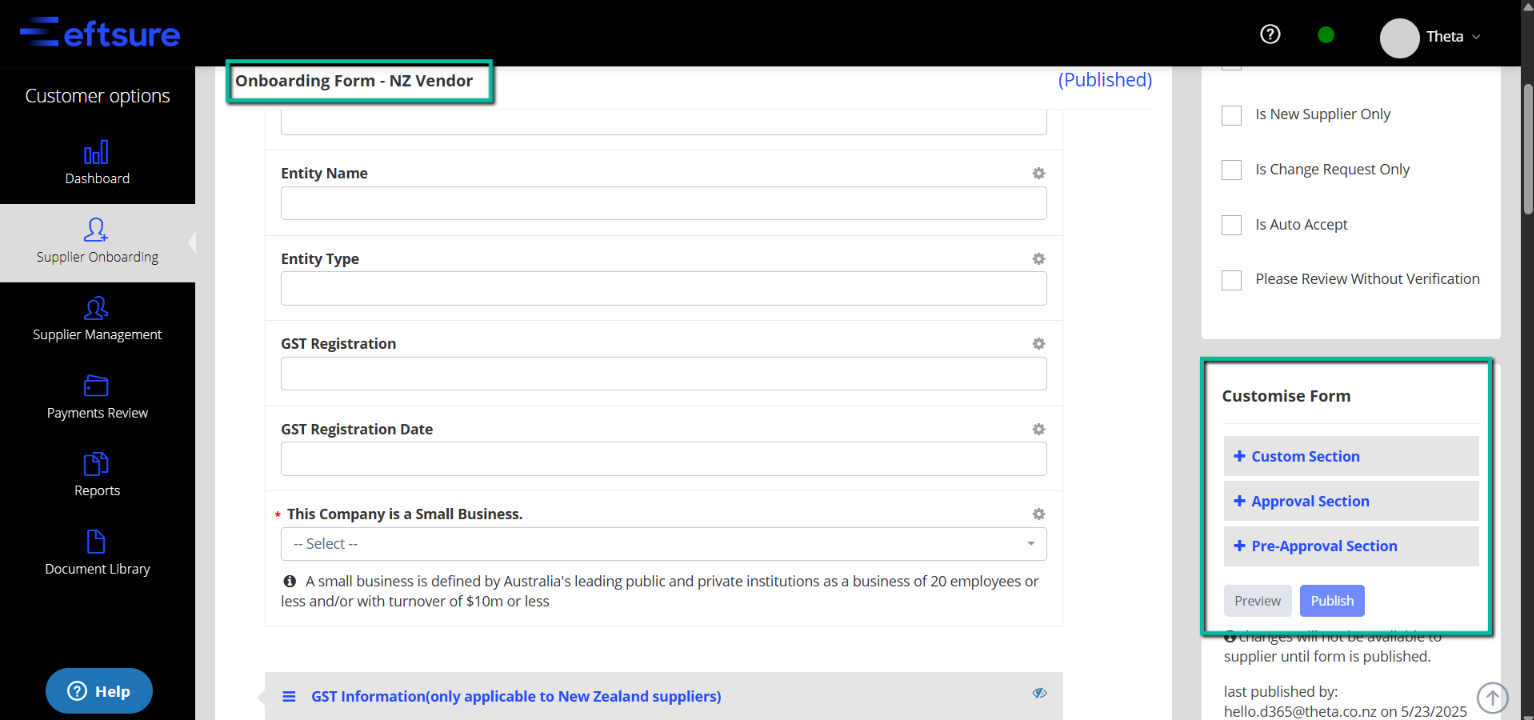
Setup Vendor/Supplier Onboarding forms
Multiple vendor onboarding forms can be created and customised in Eftsure depending on the category of vendors, country etc.
Vendor/Supplier Onboarding
Note: Vendor and Vendor Bank Accounts in Business Central are Suppliers in Eftsure
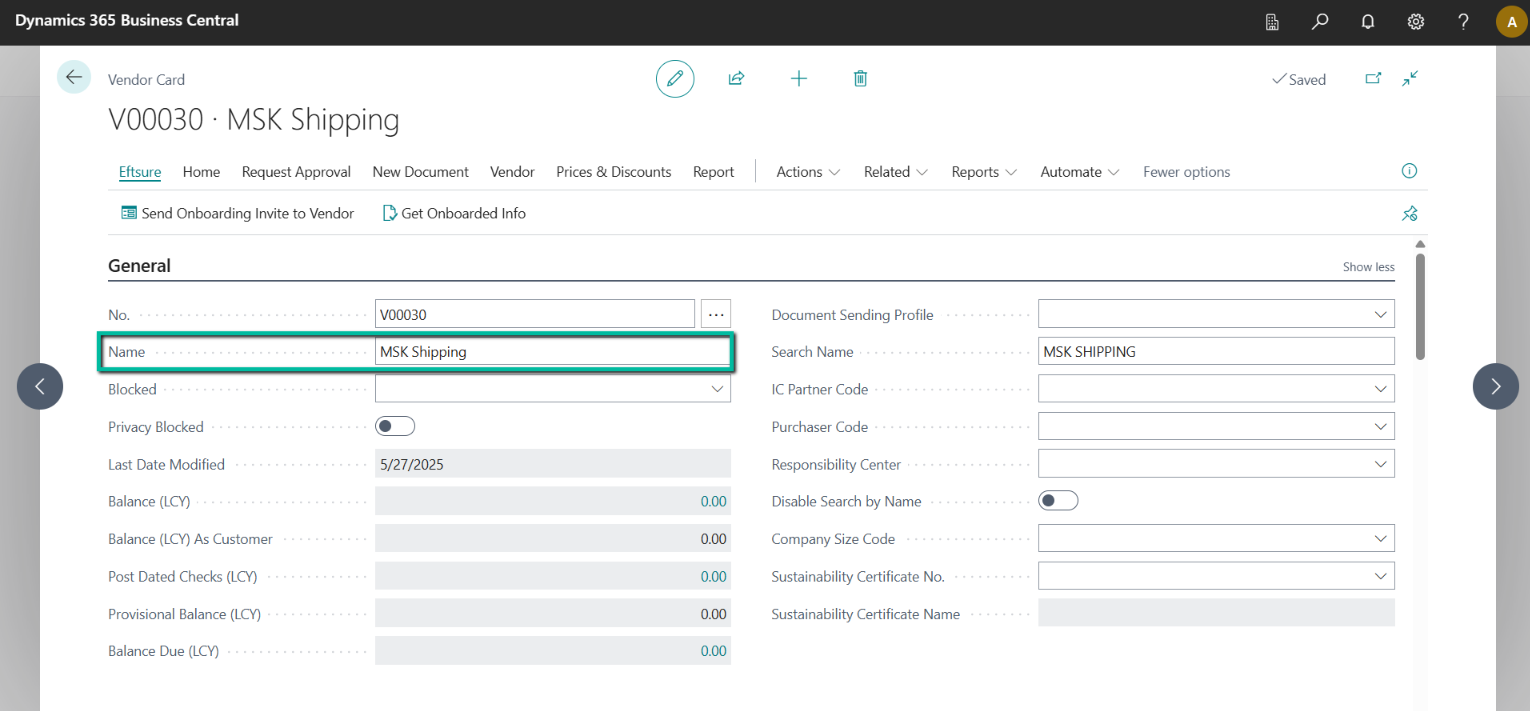
Create a new vendor in Business Central.
Mandatory fields are No., Name, Email.
We recommend populating the Payment Method Code and Country Code as well, so that Business Central workflows can be created to automate the onboarding process.

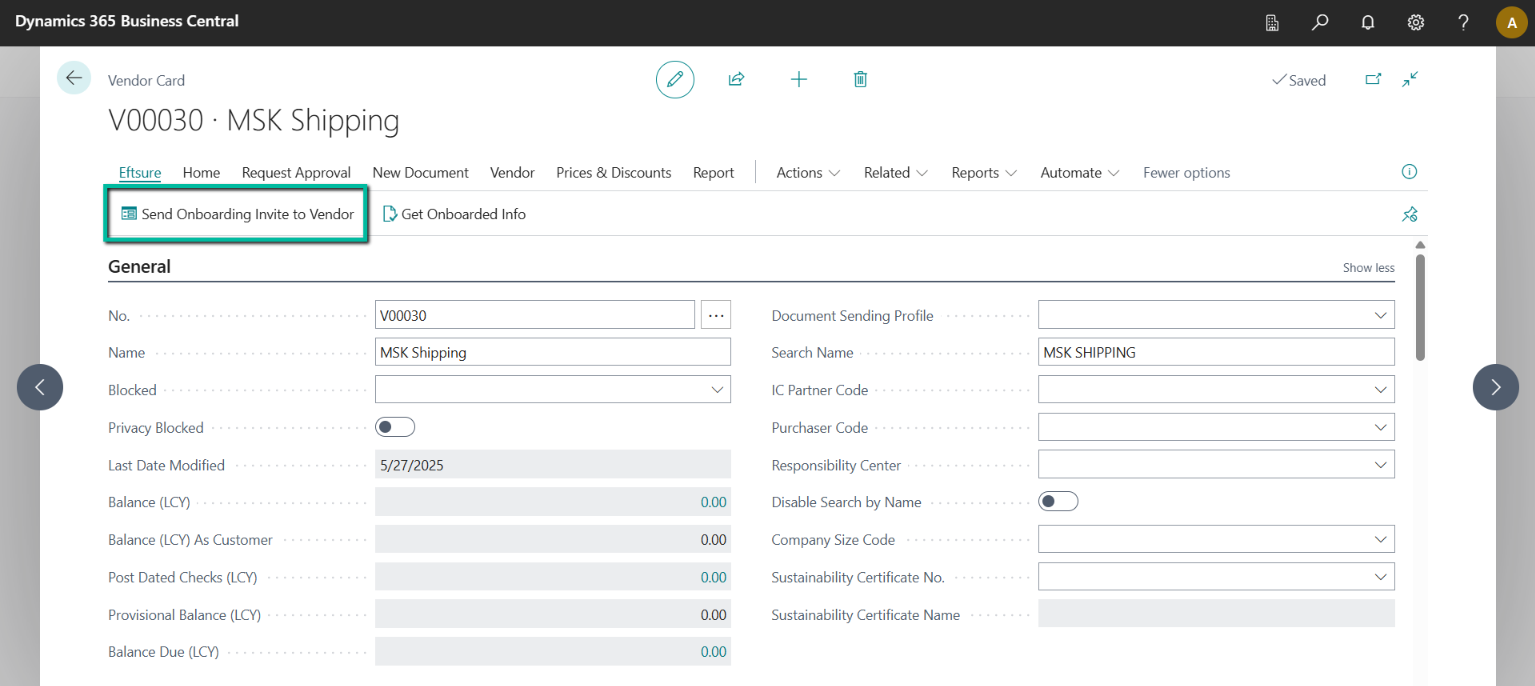
After mandatory fields are updated, the user can send an onboarding invite to the vendor.
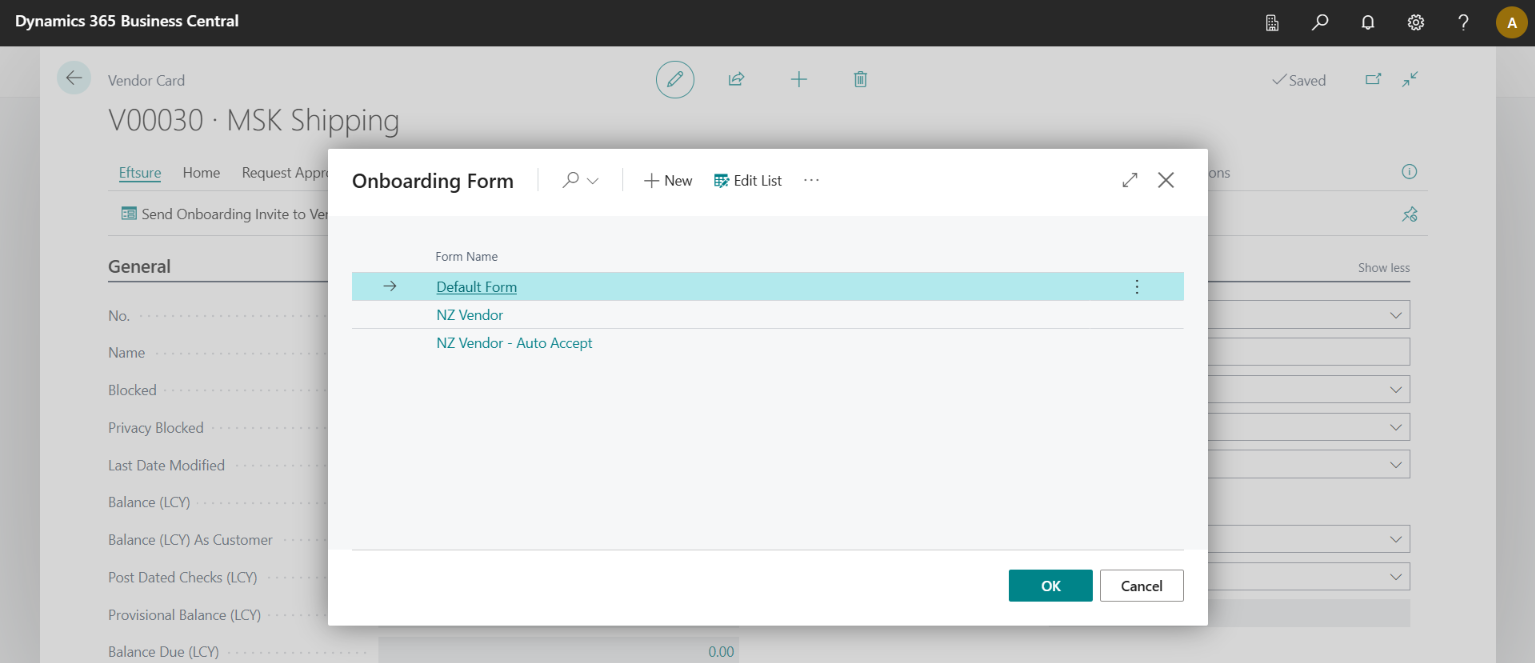
The user must select an onboarding form based on the vendor, category, country, etc..
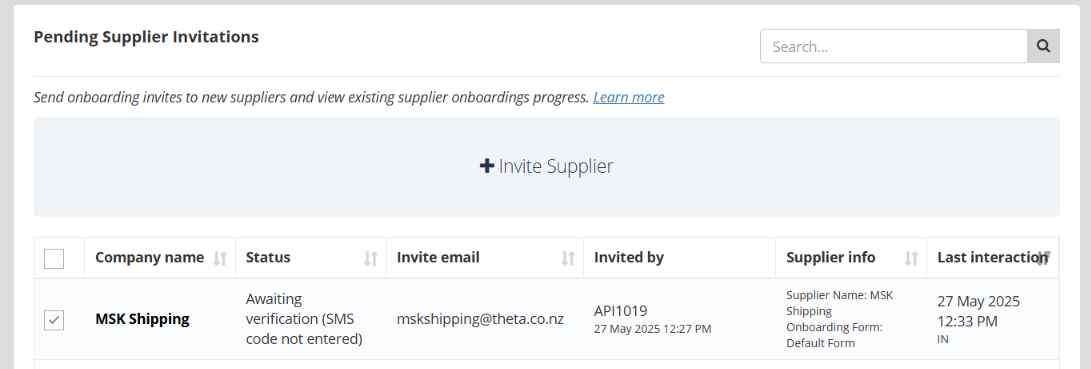
An onboarding invite is sent to the vendor.
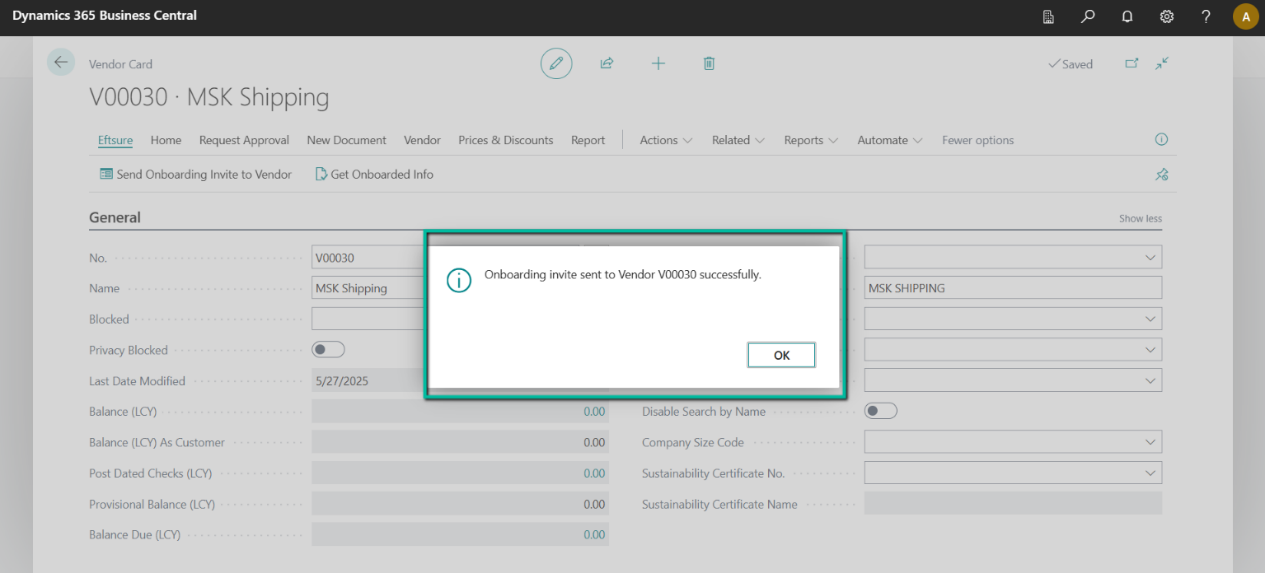
Onboarding Status and ID are updated in the Vendor Card.
Note: A job queue runs in the background which checks the onboarding status at regular intervals.

The vendor/supplier receives an email with the onboarding invitation.
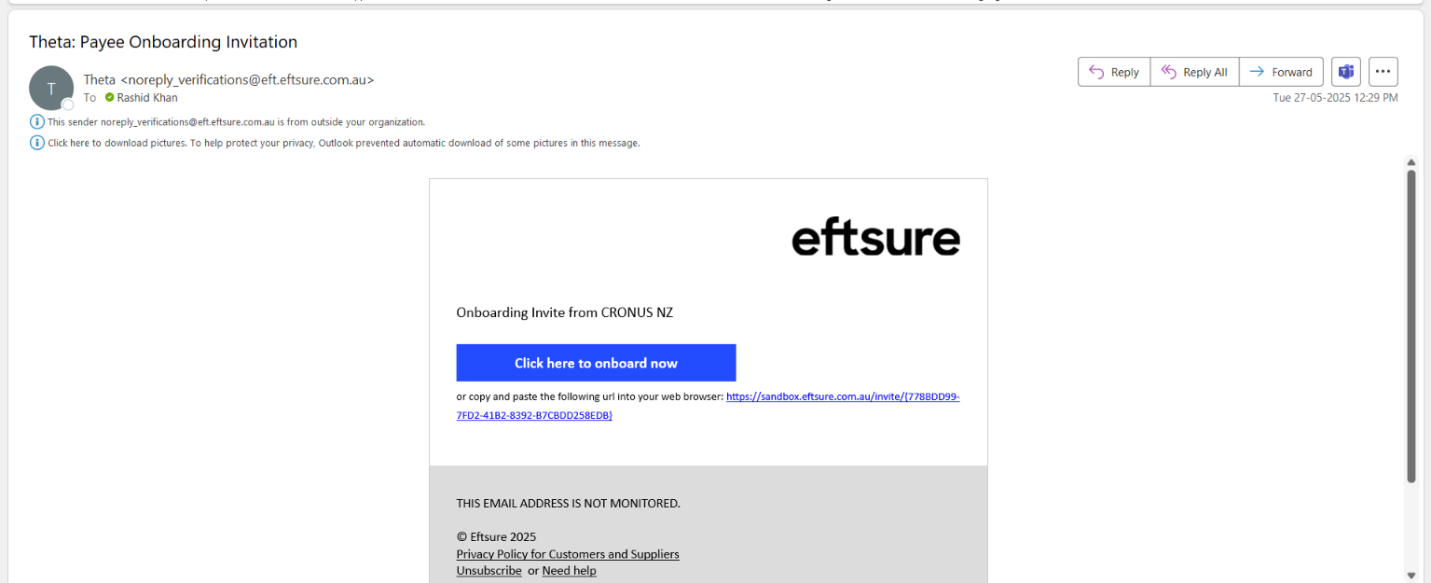
The supplier can create an account /or login to the Eftsure portal to complete the onboarding process.
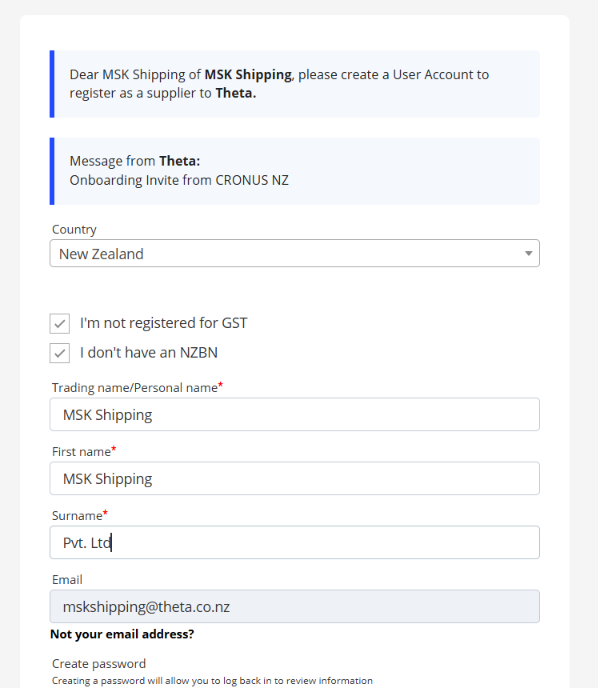
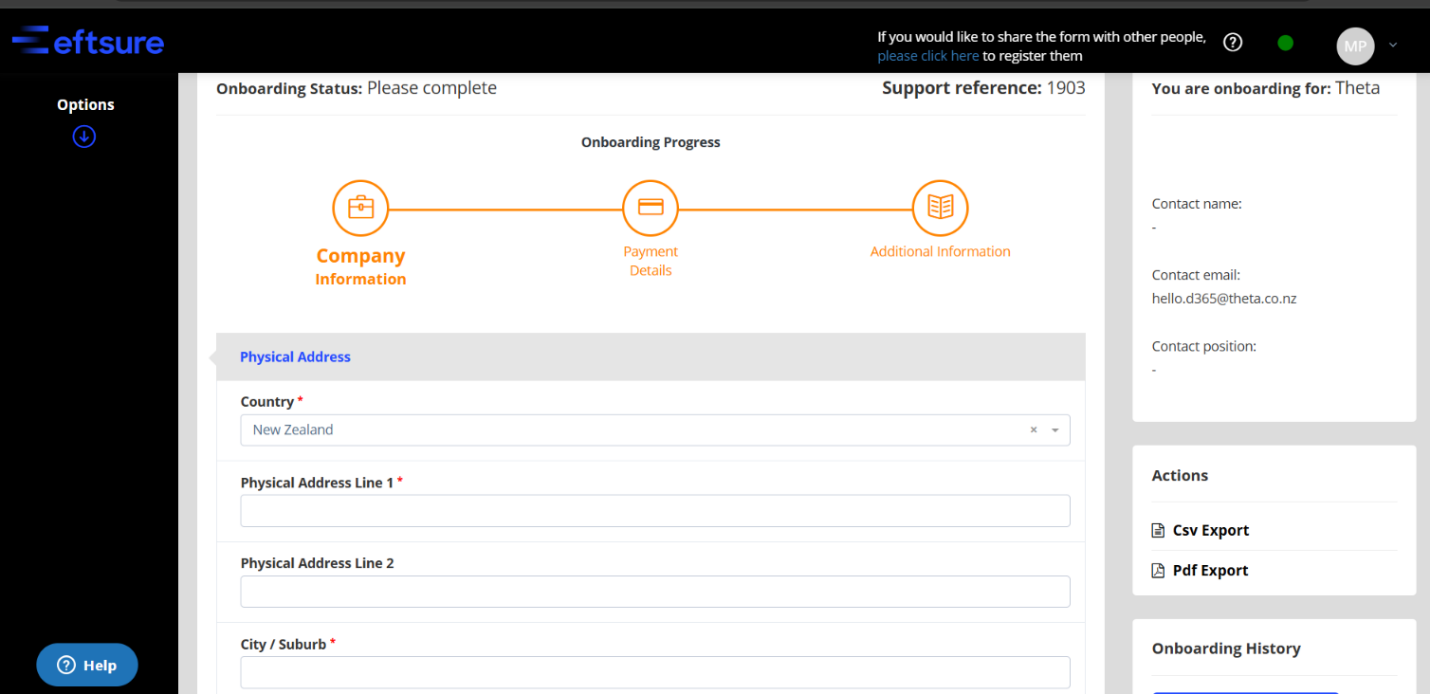
The supplier needs to update the company information and address details.
The supplier then needs to update the payment information, which can be done manually or using the Bank Link Verification option.
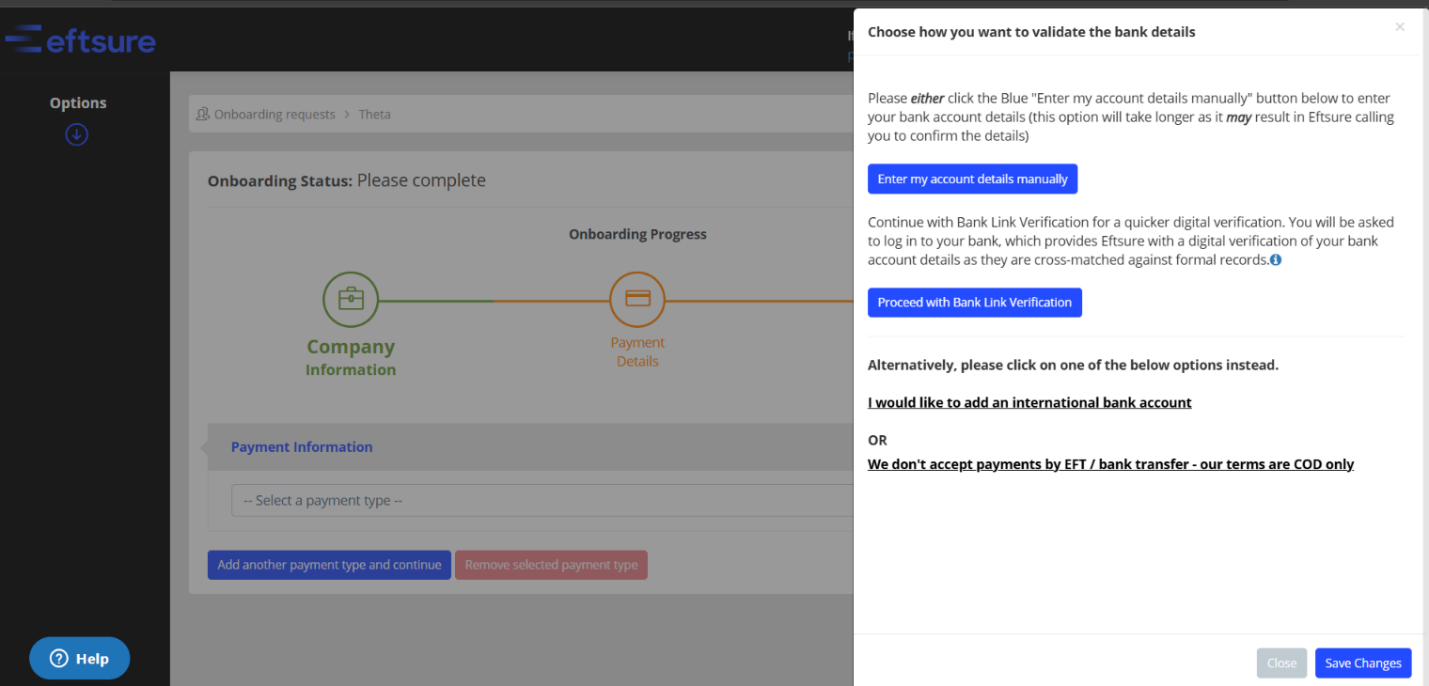
Note : This opens up a login page for the selected bank account, and details can be verified directly from the bank.
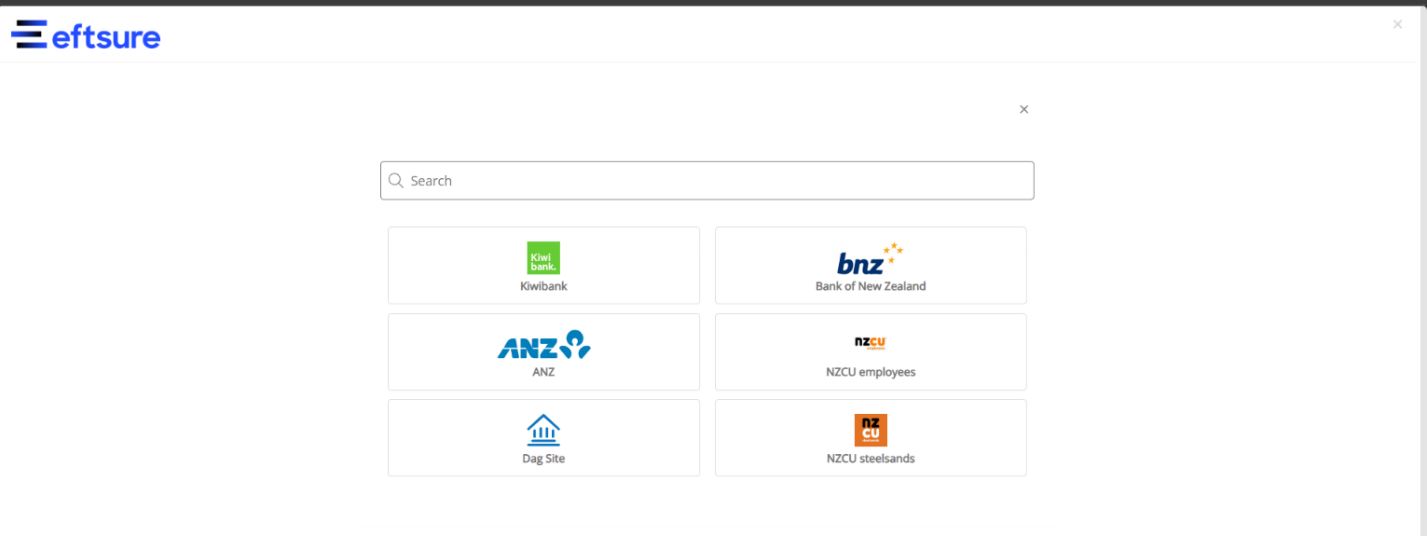
In this example, we proceed with manual details.
Bank Branch, Account No. and other details must be entered as per the format for the country.

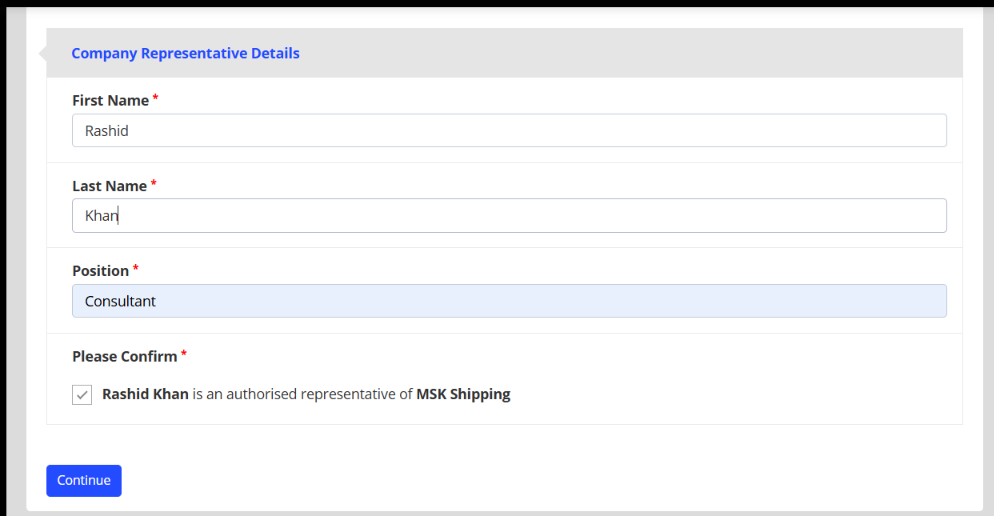
Once the bank details are filled in, the company representative must confirm and submit the onboarding form.
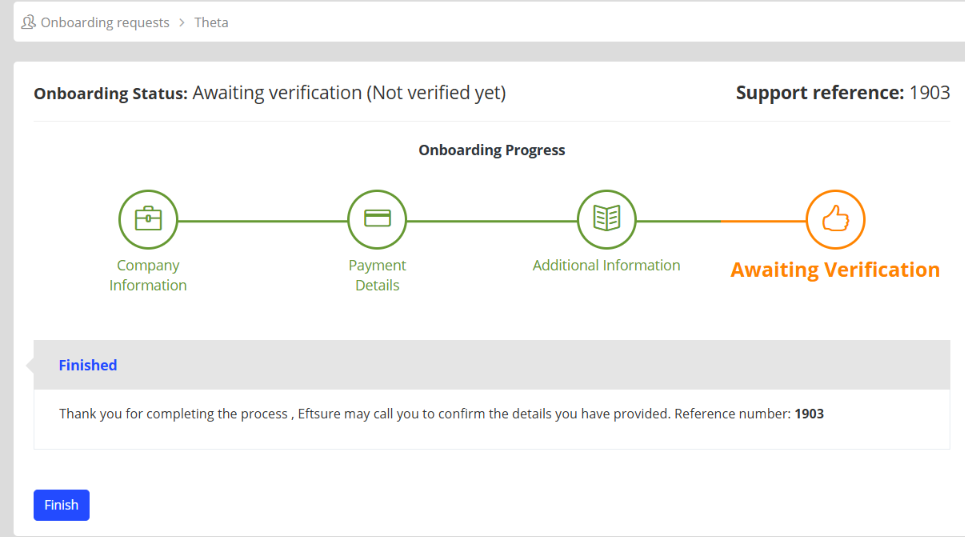
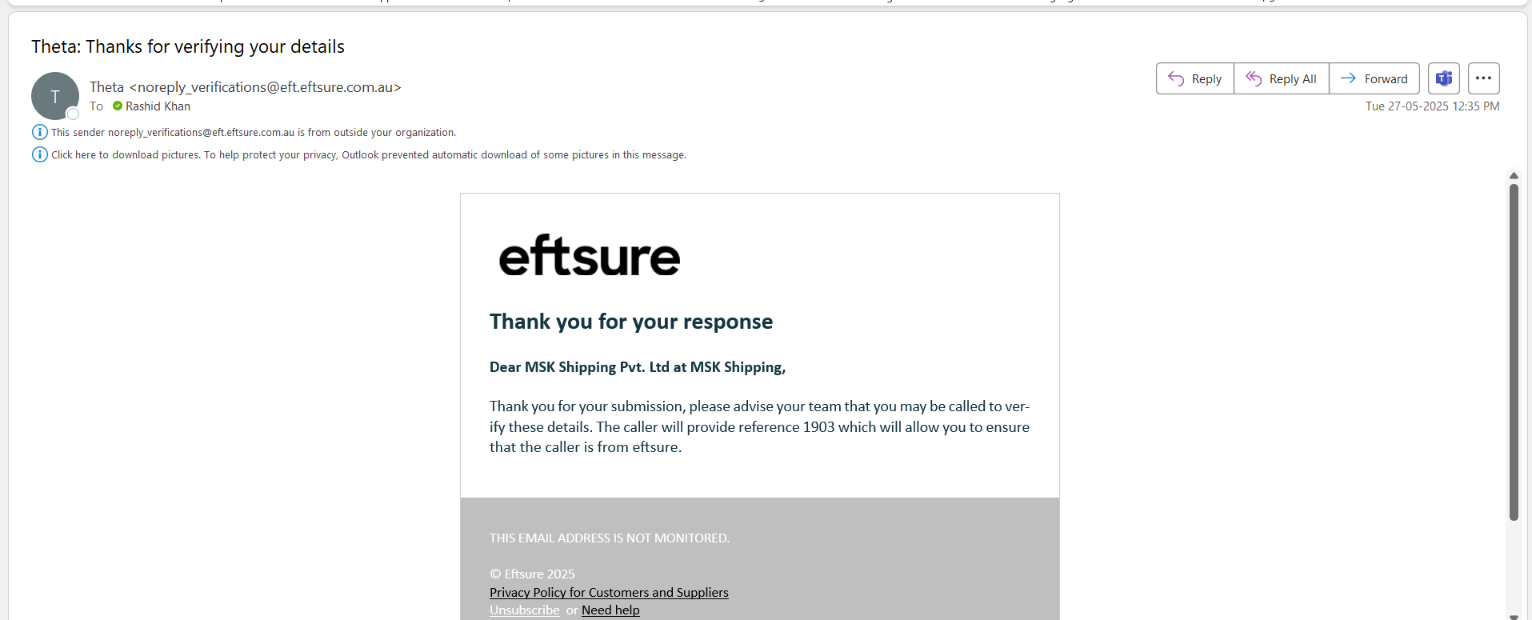
Confirmation is received for the successful submission of the form.
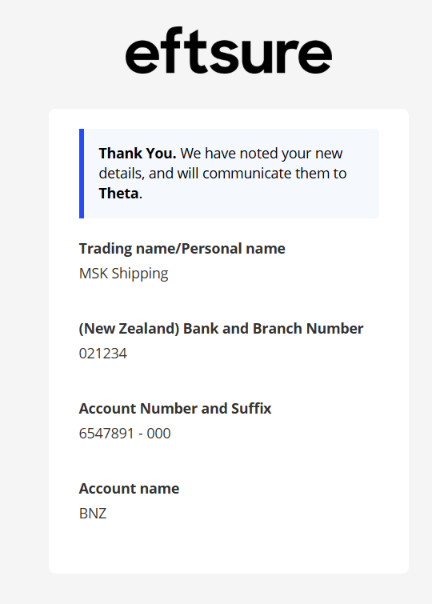
The supplier also receives a confirmation email.
The submitted forms can be reviewed in the Eftsure portal for acceptance or rejection.
At this point, Eftsure verifies the bank account details and changes it to pending review by the company user.
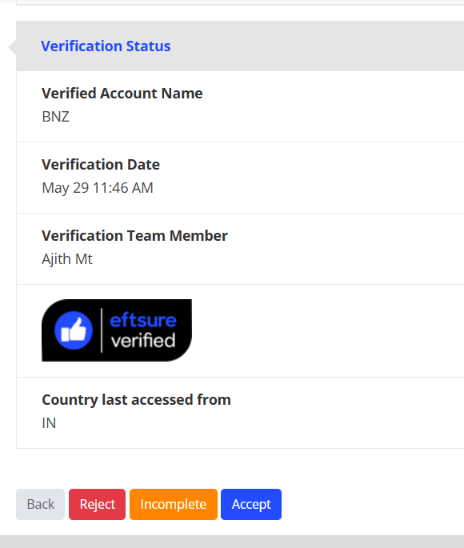
The verification is completed after verifying/updating the details by the user.

Accepting the onboarding form also creates a supplier in Eftsure.
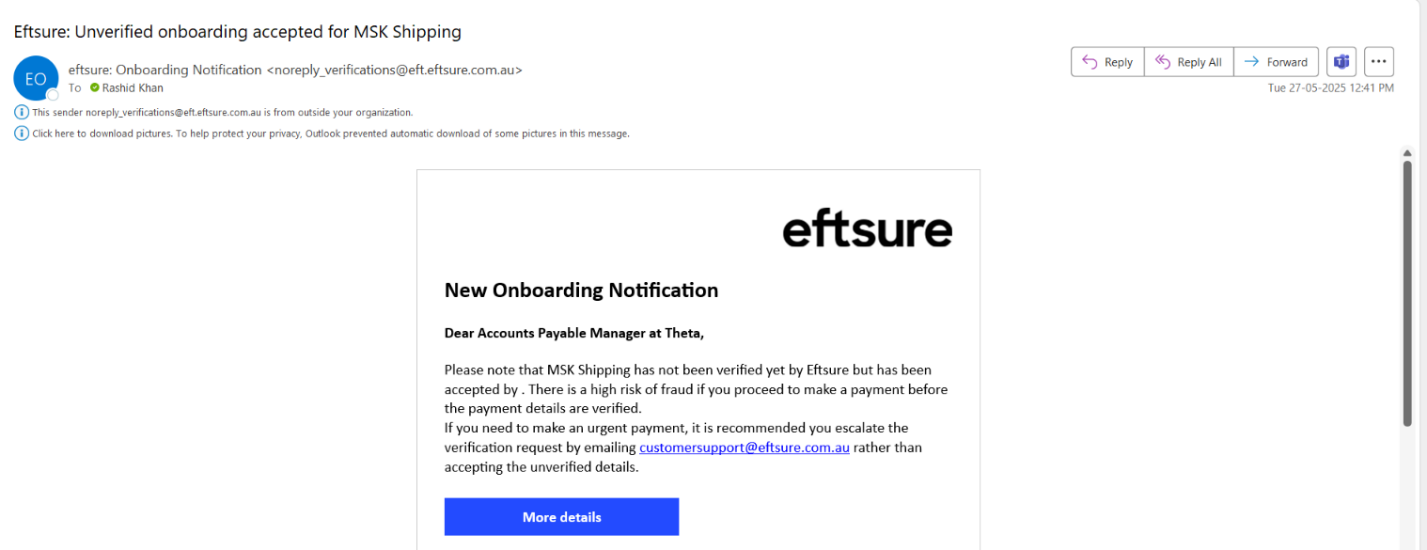
An email is received by the company confirming the acceptance of the onboarding form by the supplier.
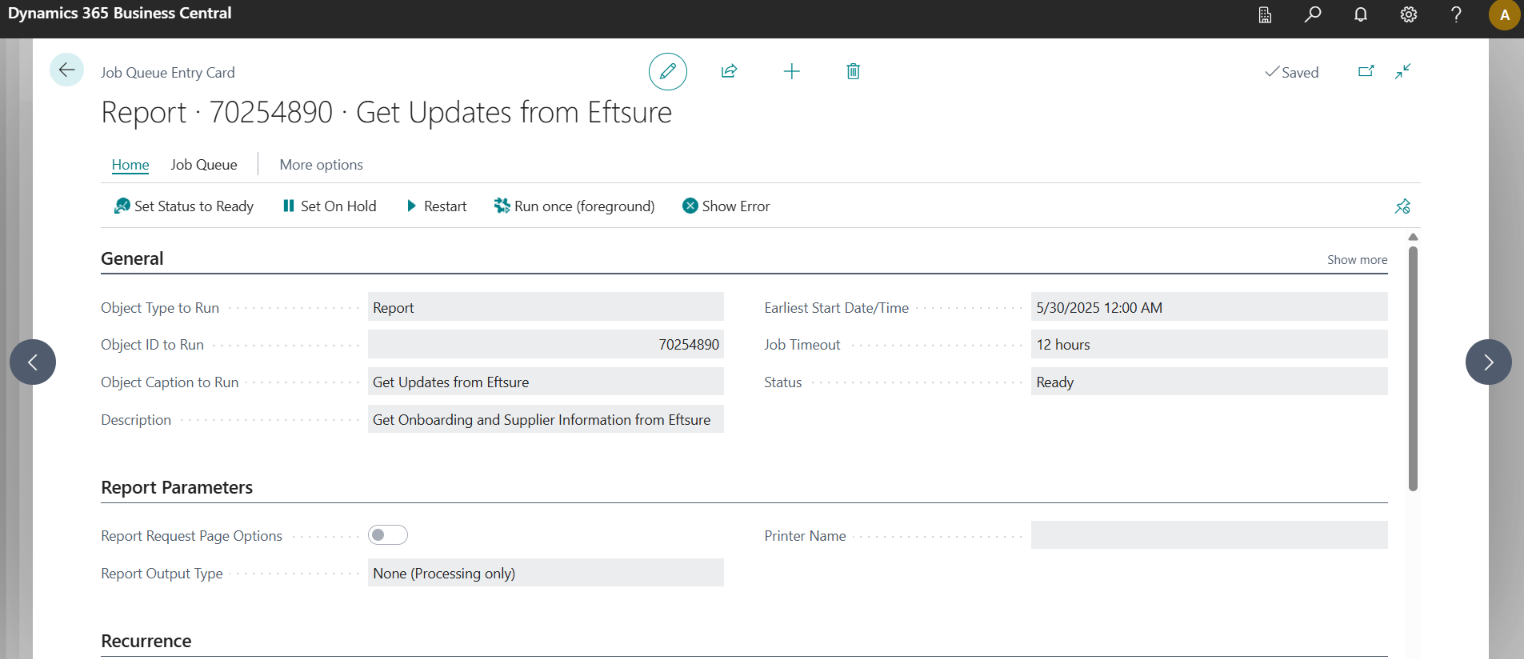
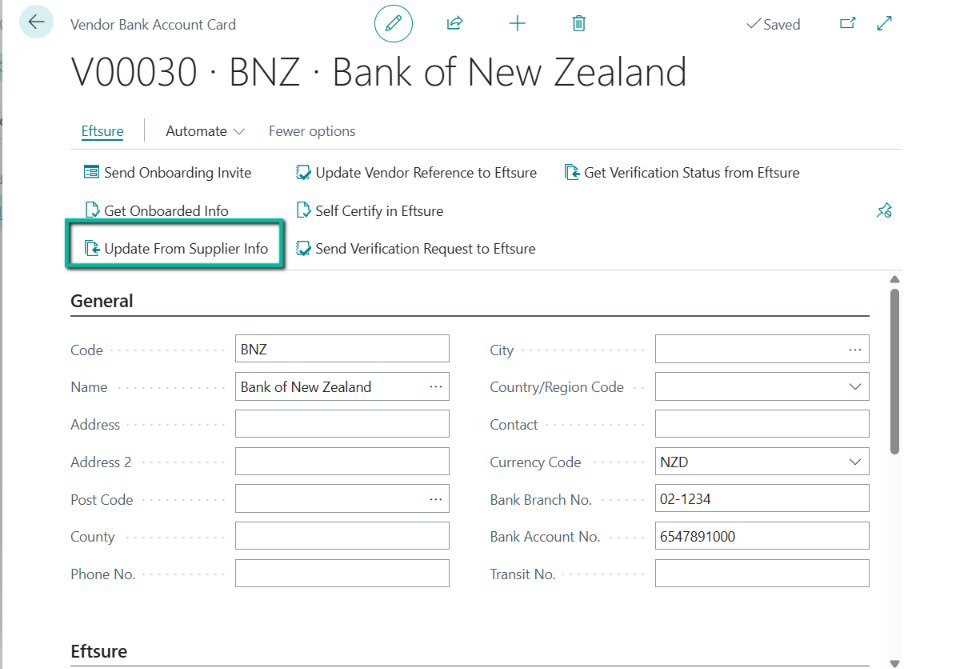
The onboarded information will be pulled into Business Central by a job queue running in the background.
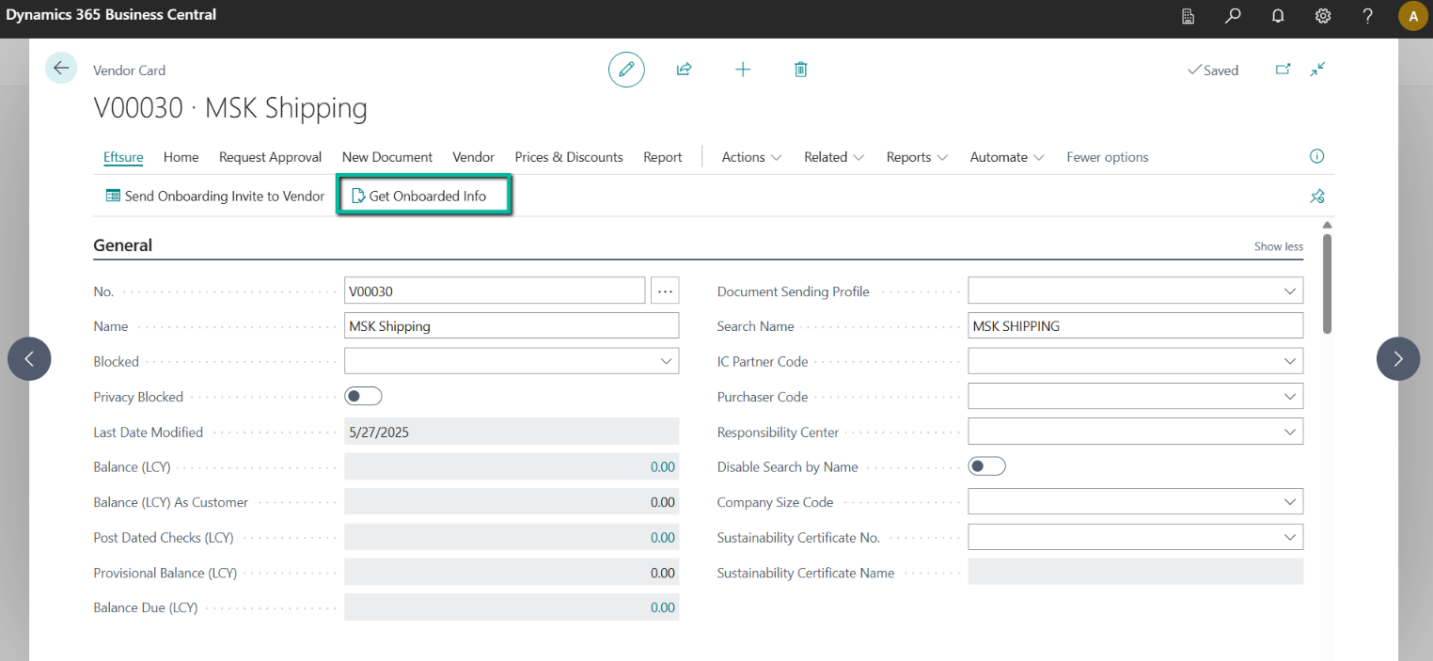
The Business Central user can also get the onboarded information manually from the vendor card.
Note: This action is visible in manual mode only.
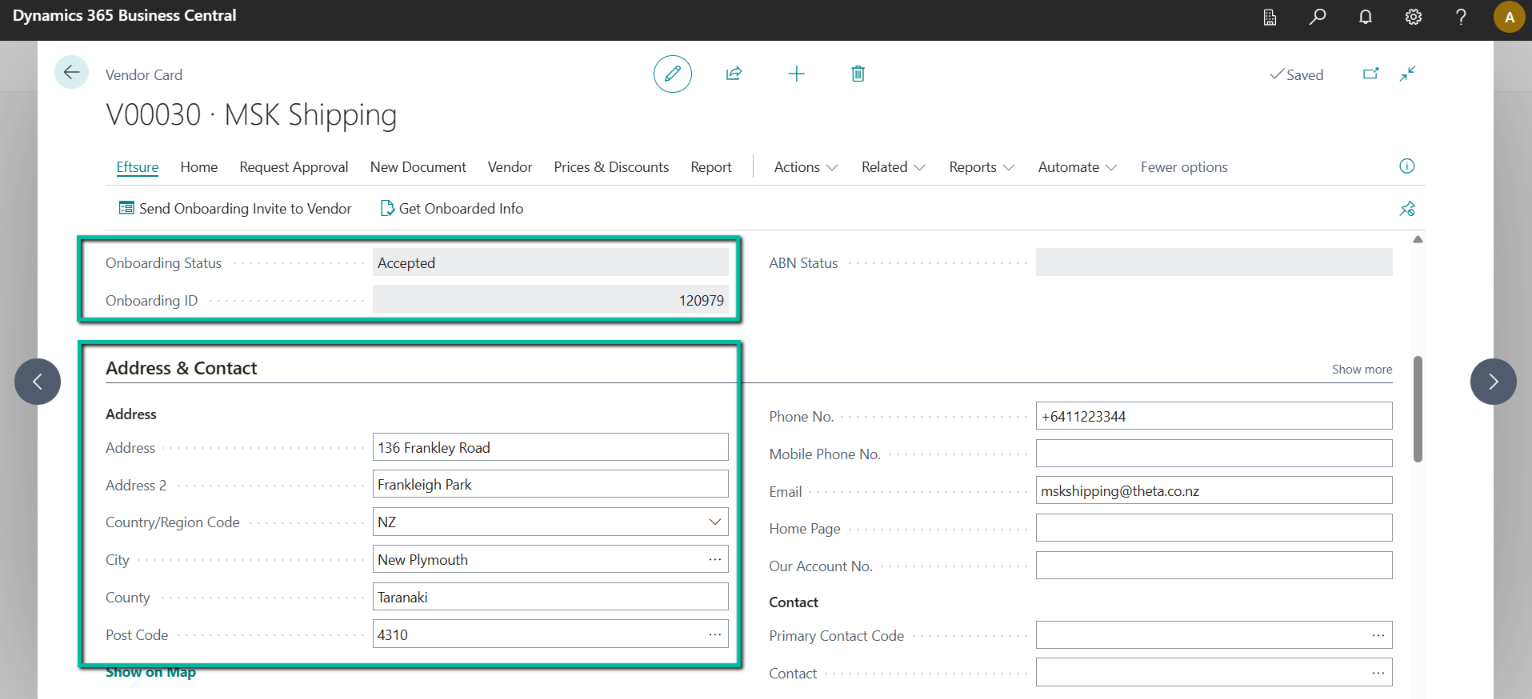
If the onboarding form was ‘Accepted’, the address and bank details entered by the supplier are updated in Business Central.
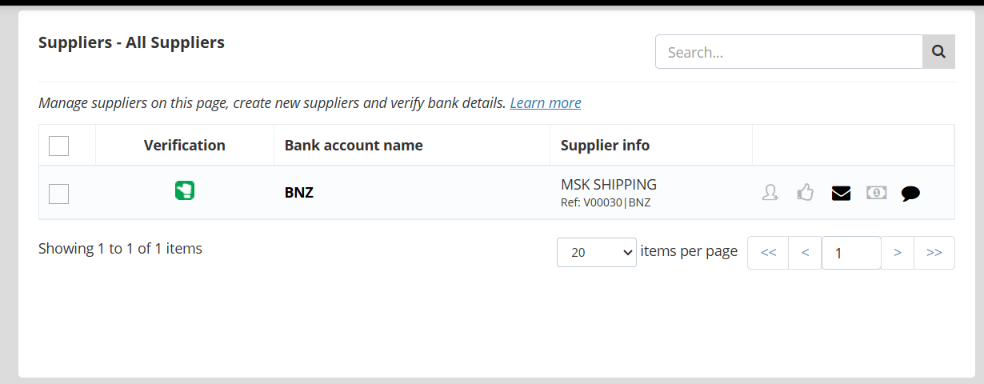
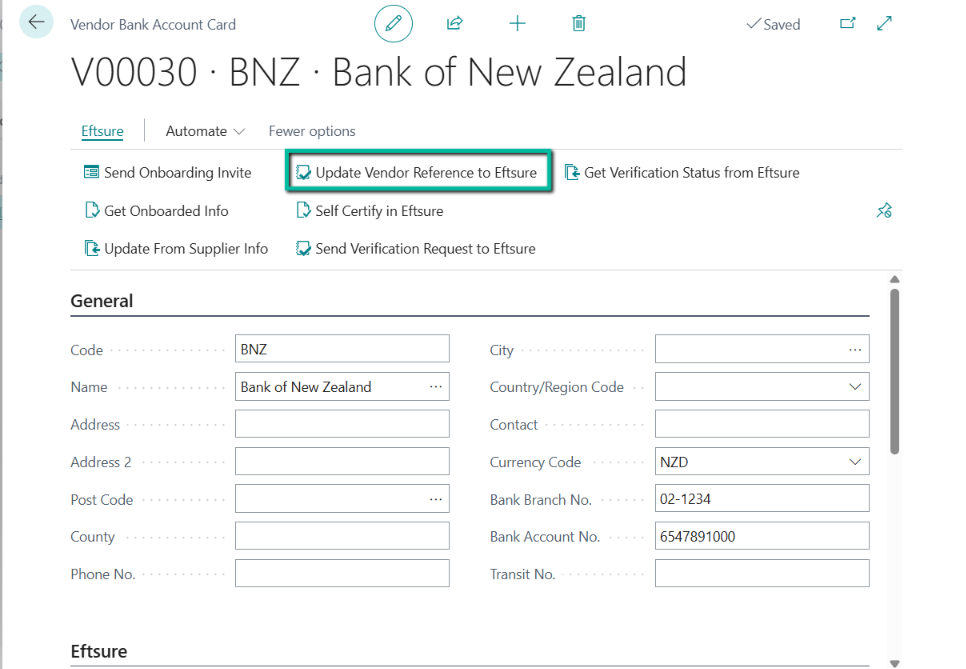
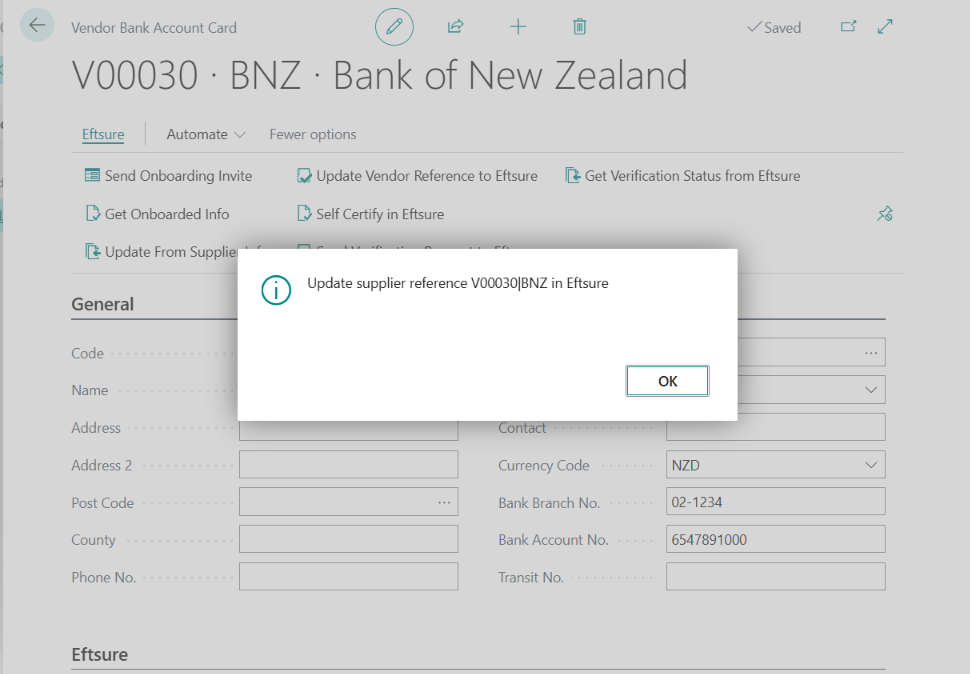
The vendor reference from Business Central, a combination of the Vendor No. and Bank Code (e.g. V00030|BNZ), is updated as supplier reference in the Eftsure portal by the job queue running in the background.
This allows the creation of multiple bank accounts for the vendor in the Eftsure portal.
Note: Each vendor and bank account combination identifies a supplier record in Eftsure.
Note: This action is visible in manual mode only for on-demand requests.
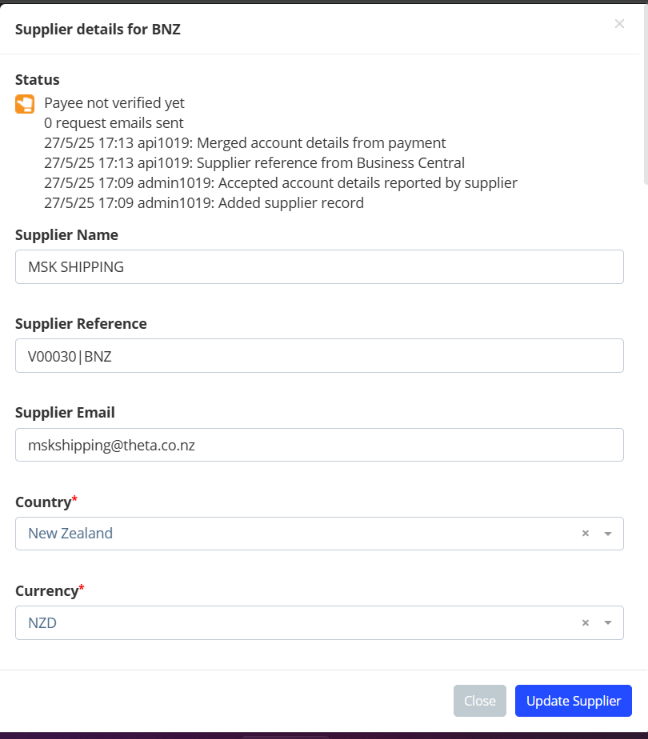
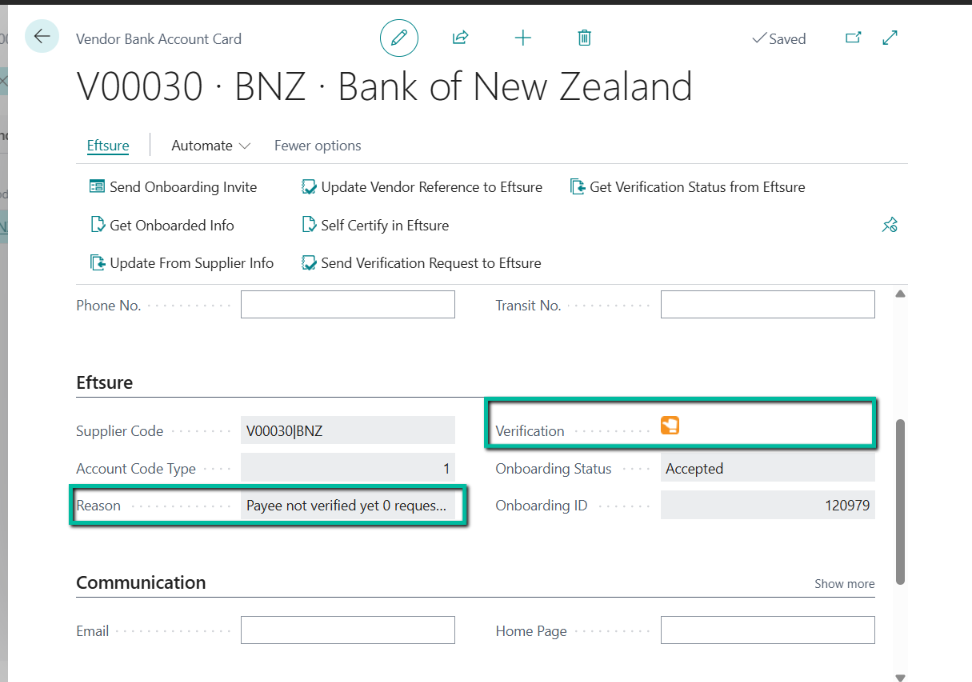
Any details updated directly in Eftsure, and the verification status will be fetched from the supplier information in Eftsure by the job queue running in the background.
The information can also be retrieved manually by the user through the following action.
Note : This action is visible only in manual mode.
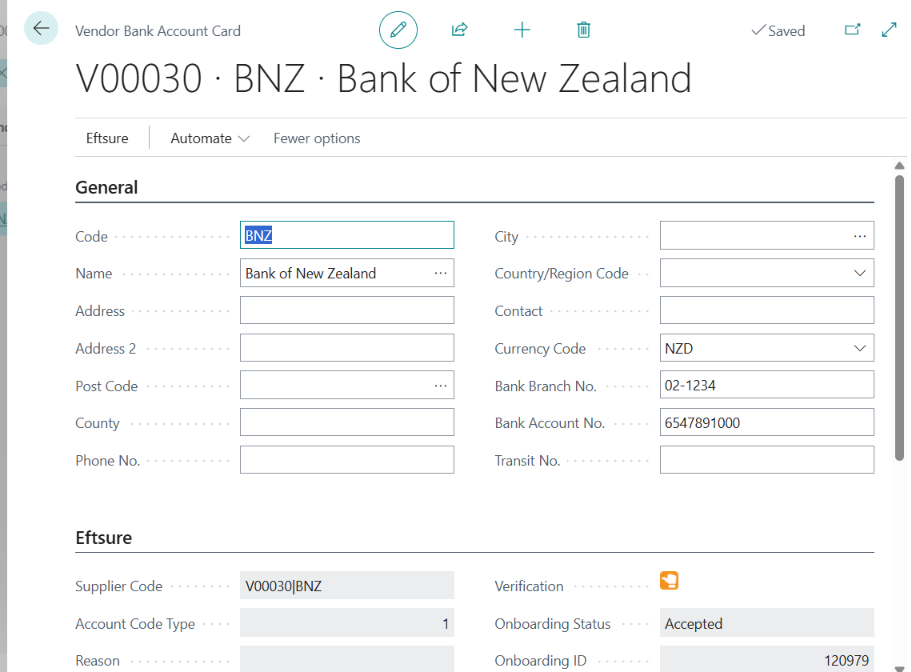
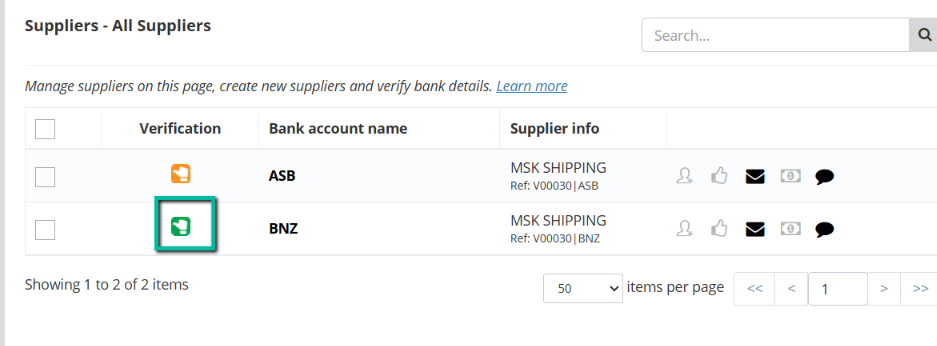
Supplier details in Eftsure:
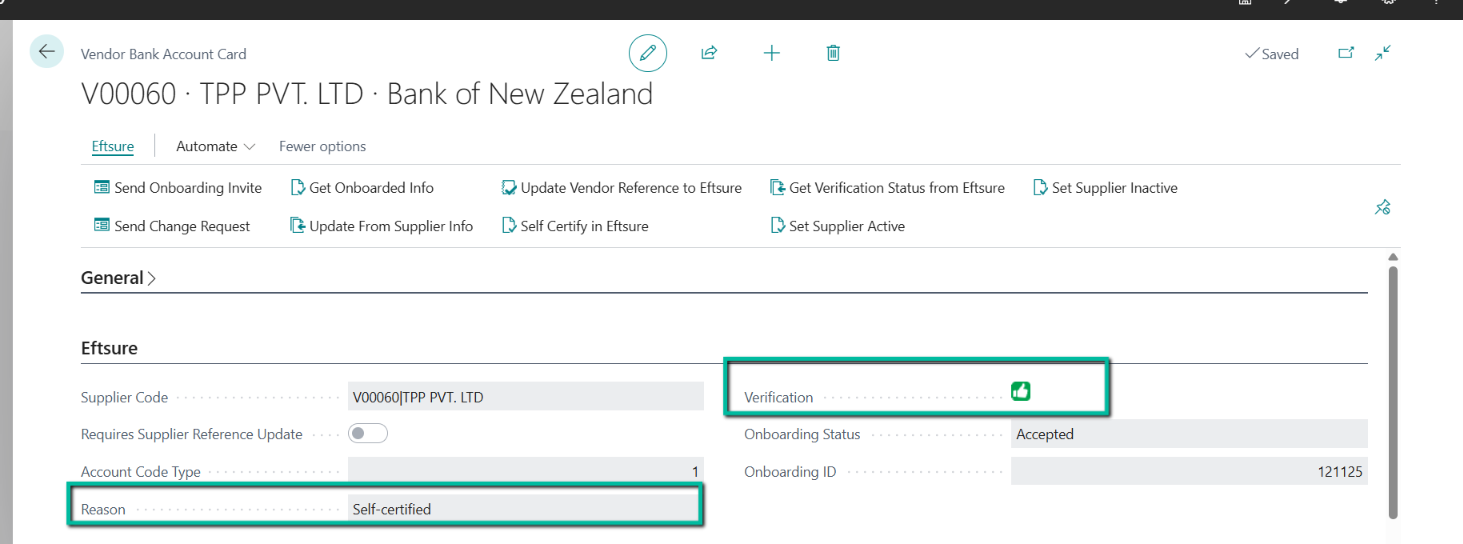
Vendor Bank Account details in Business Central:
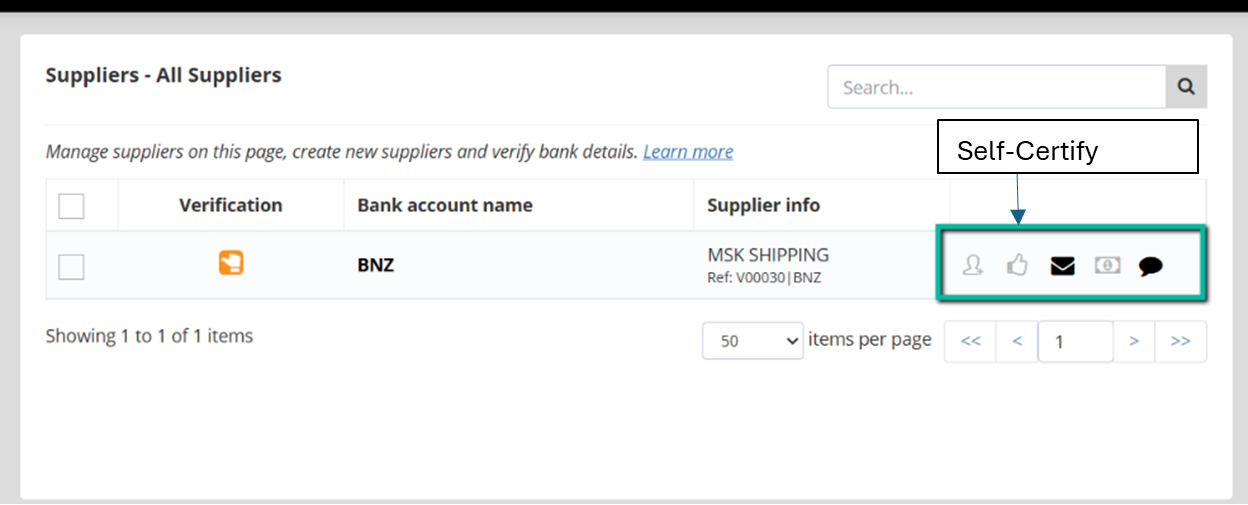
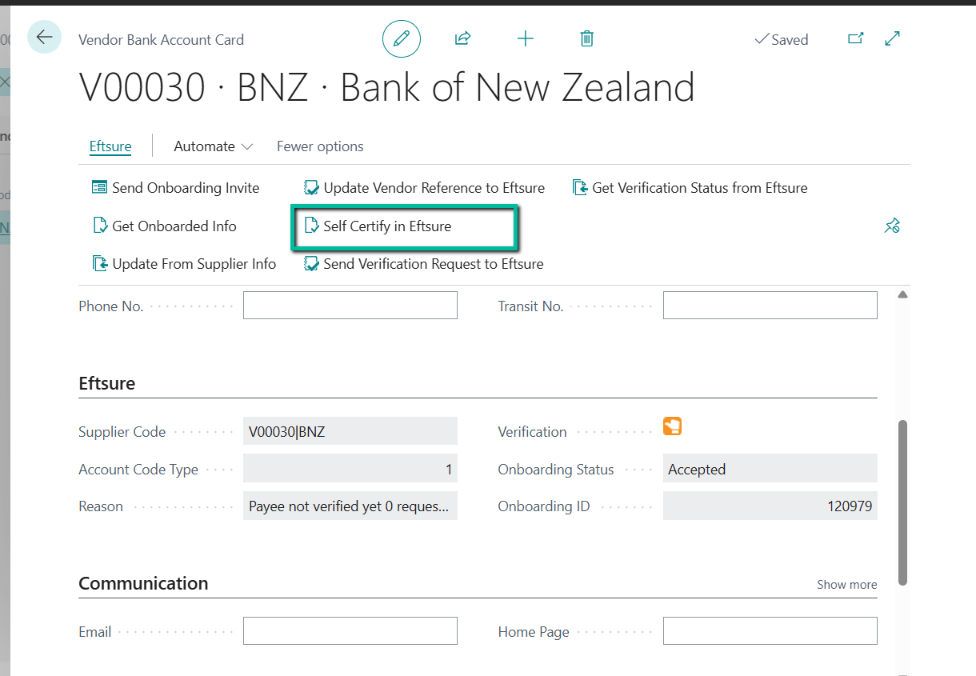
With the Self-Certify action in Eftsure, a user can skip waiting for verification by Eftsure. Self-certification can also be triggered from Business Central.
Note: This action is visible to authorised users only.
The user is required to enter a certification comment to complete the process.
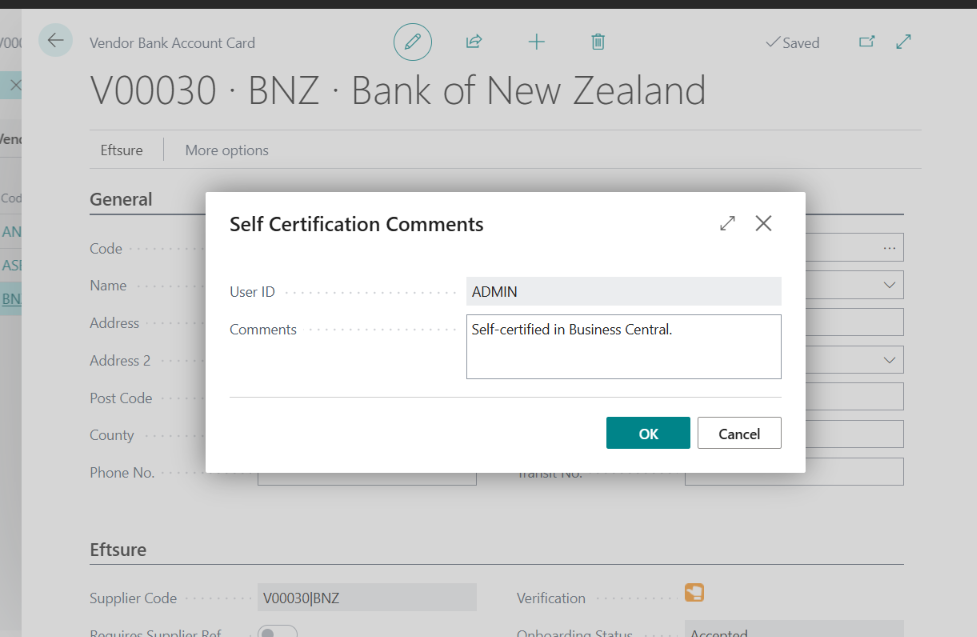
After the self-certification, the orange thumbs change to green thumbs, indicating that the supplier bank account is certified, and the reason is updated as well.
Comments entered by the Business Central user and User ID is logged in Eftsure.

This completes the initial onboarding of a supplier.
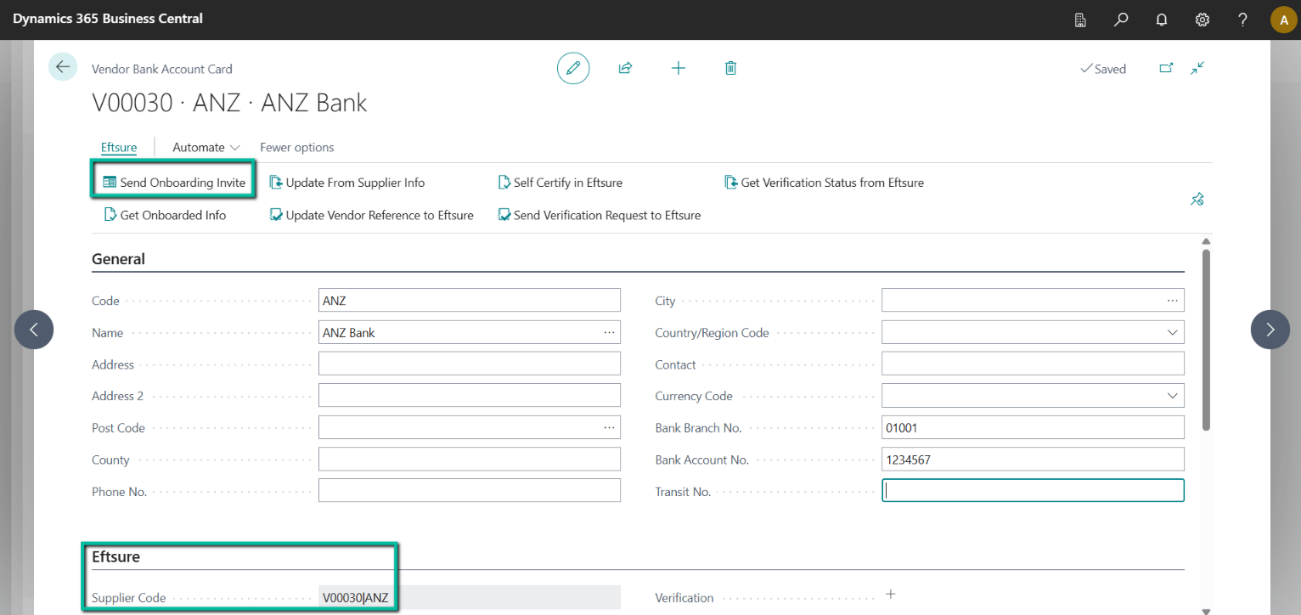
If a second bank account needs to be added for the vendor, it must be initiated from the vendor bank account card. An onboarding invite will be sent from the vendor bank account card and the rest of the process is the same as vendor onboarding.
Changes in existing bank account or address details
This can be done by sending a change request to the supplier with a specific change request onboarding form.
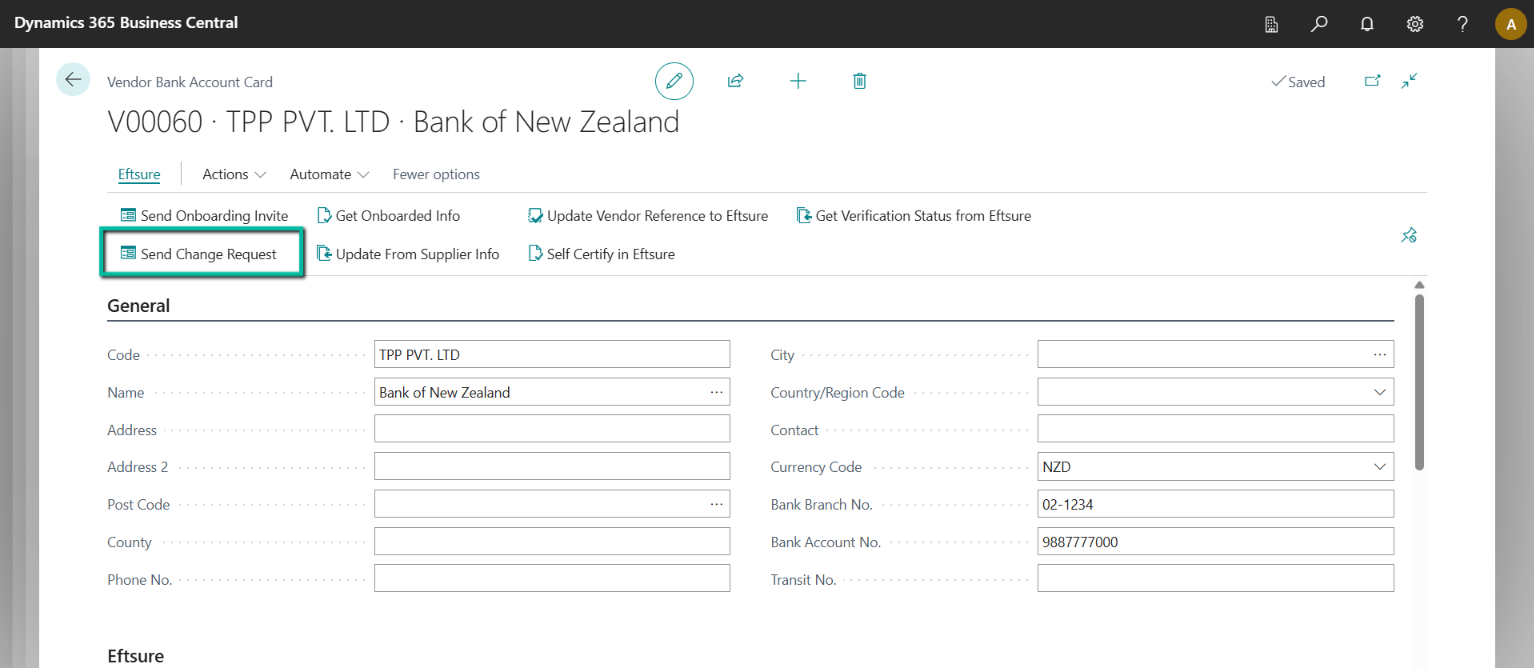
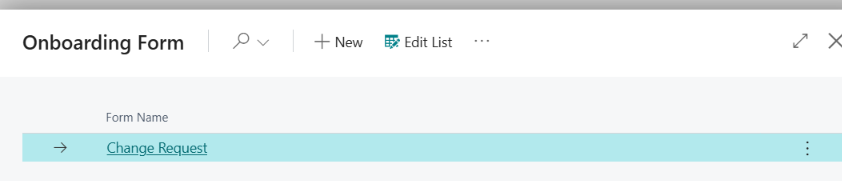
The rest of the process is the same as the onboarding process as for a new bank account.
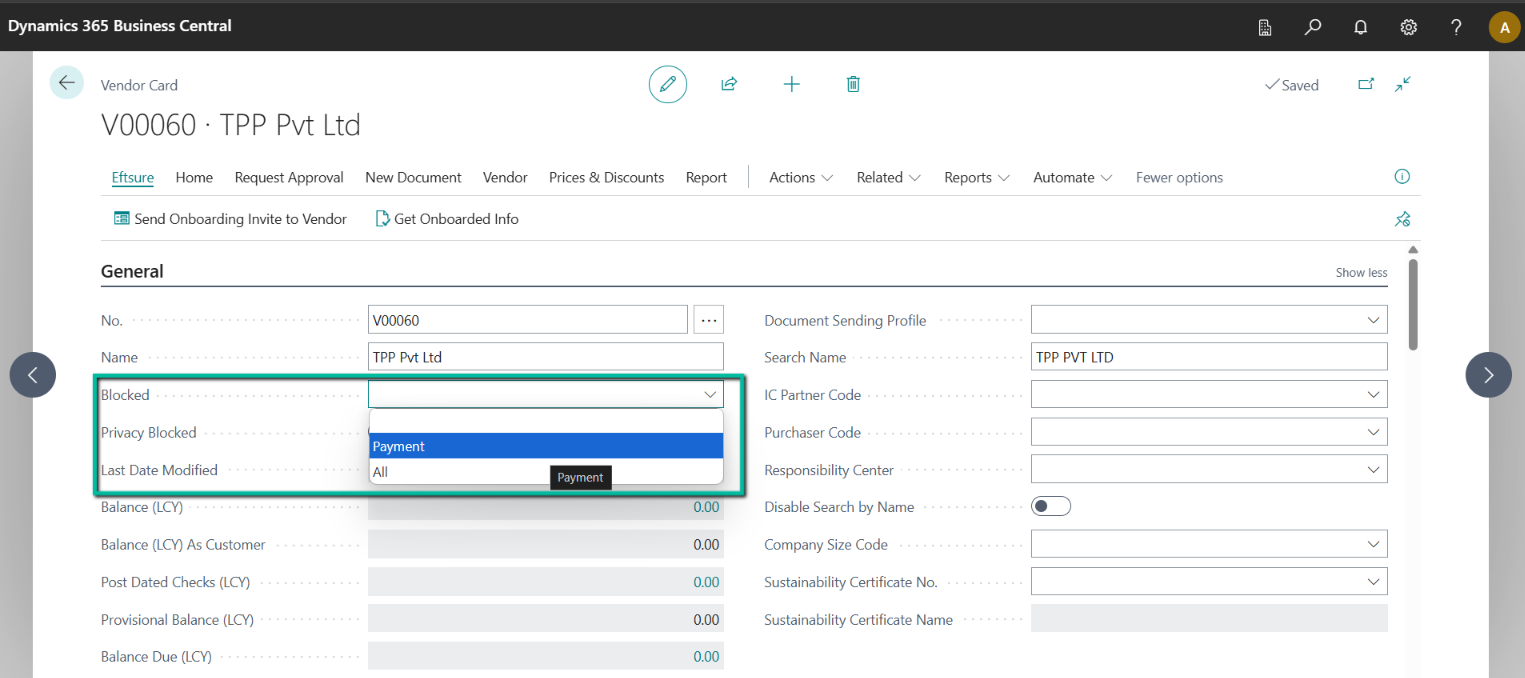
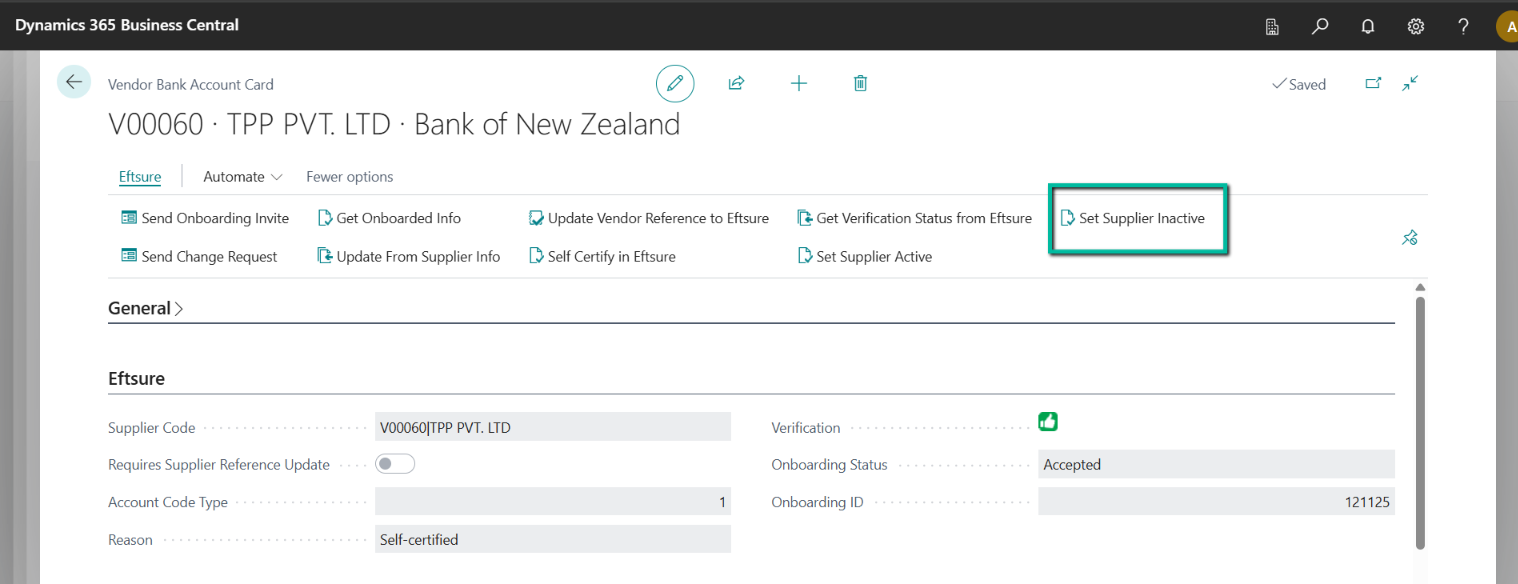
Supplier Inactive/Blocking
Suppliers and all linked bank accounts (supplier information records for each bank account) can be made inactive by changing the status in Business Central to Blocked: ‘All’ or ‘Payment’.
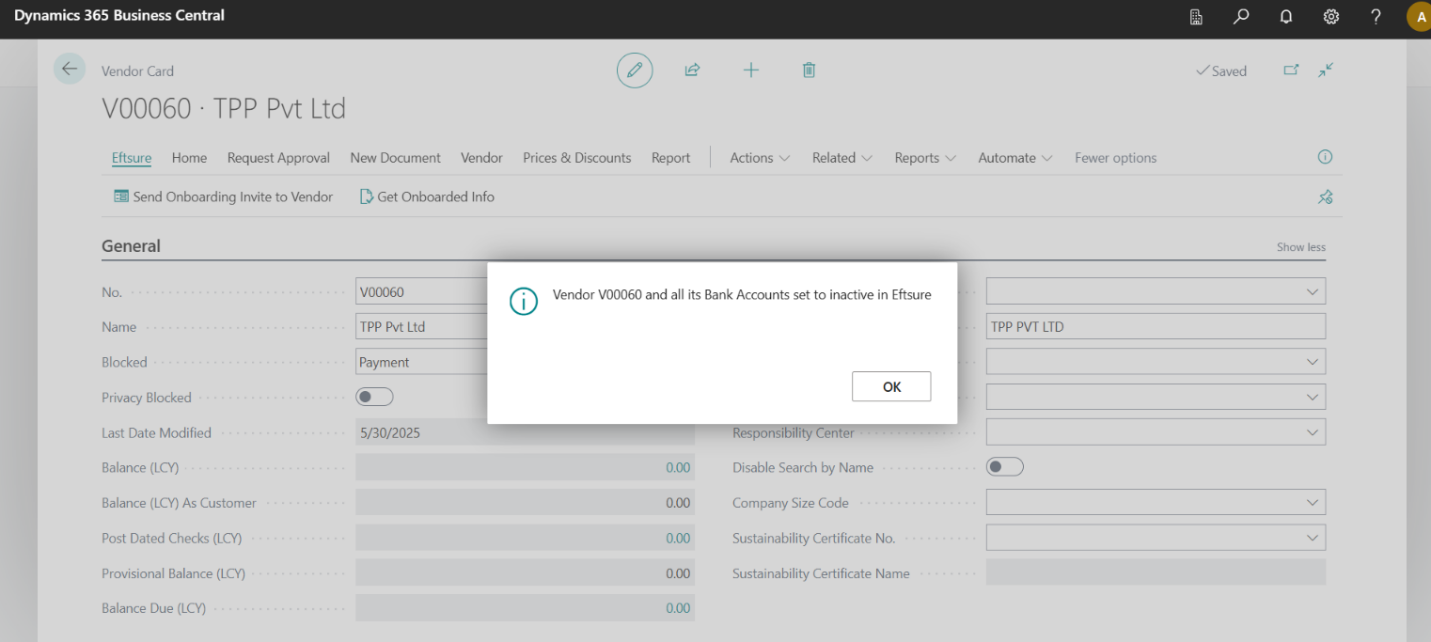
Individual bank accounts can be deactivated or activated in Eftsure from the Vendor Bank Account Card.
Note: This action is visible to authorised users only.

Payment Verification:
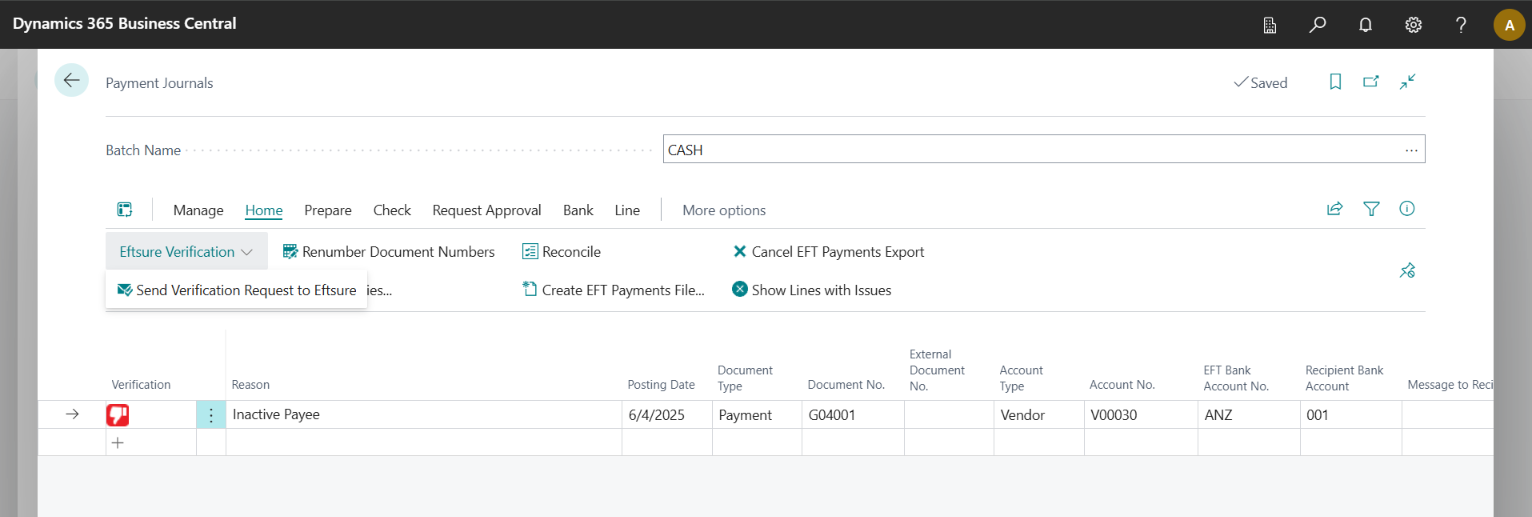
A payment journal is created in Business Central.
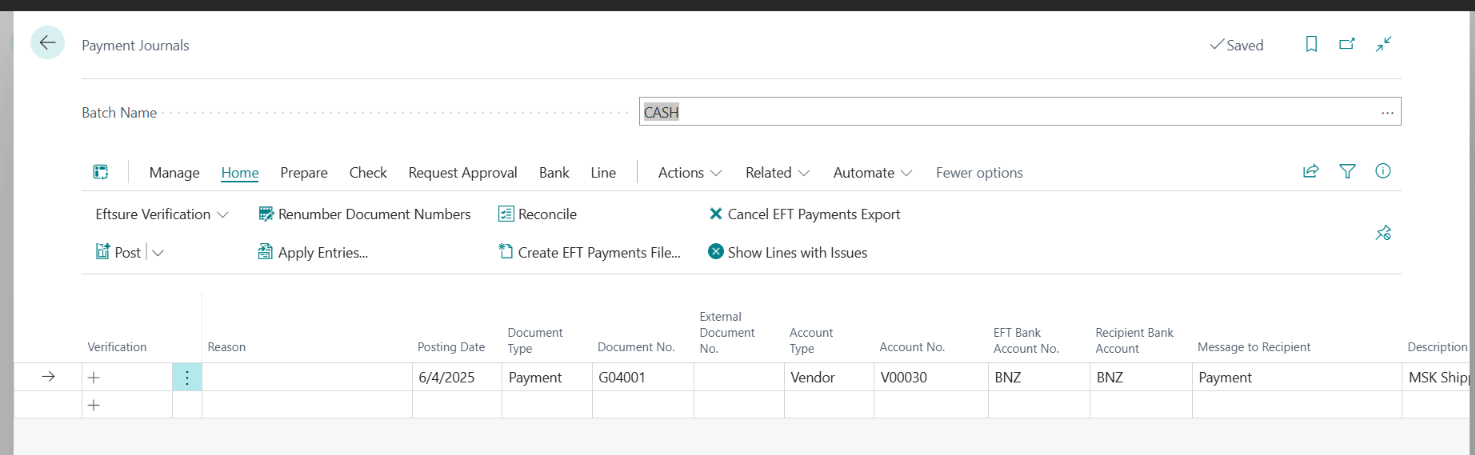
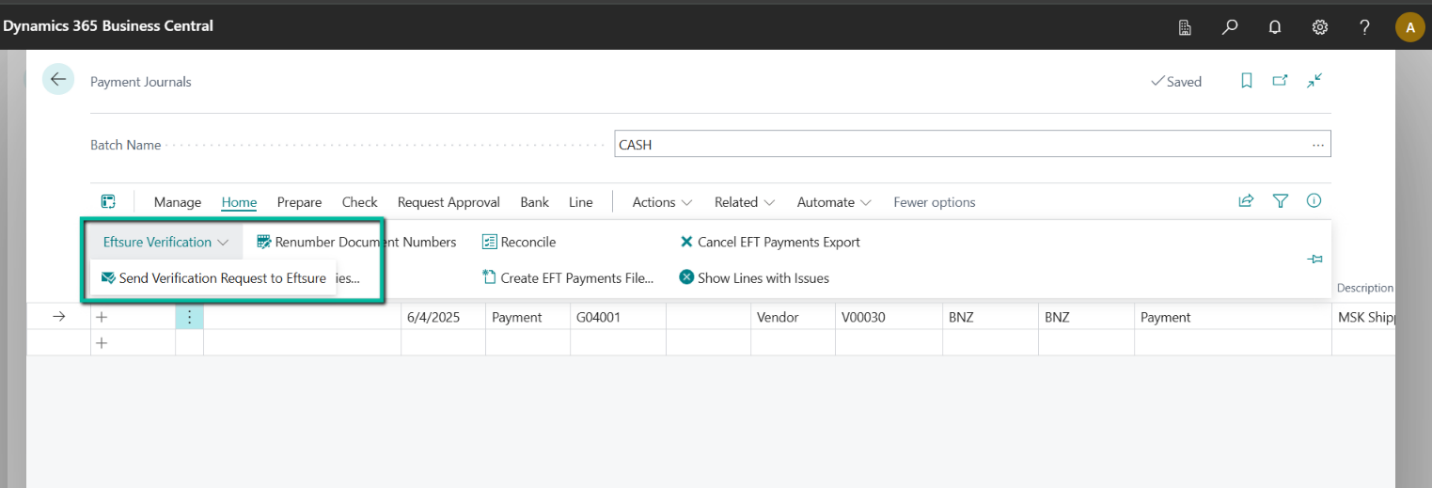
The user clicks on Send Verification Request to Eftsure
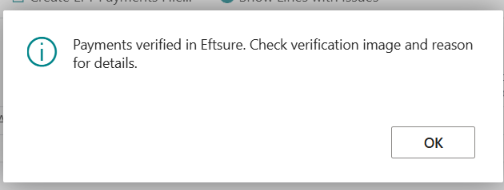
Eftsure reviews the payment request and bank account details and returns the verification status and reason.
This is confirmed by the message below in Business Central.

Payment Journal with multiple lines:
A payment journal with multiple lines is created, and all lines are sent for verification with one click. No manual selection is required.

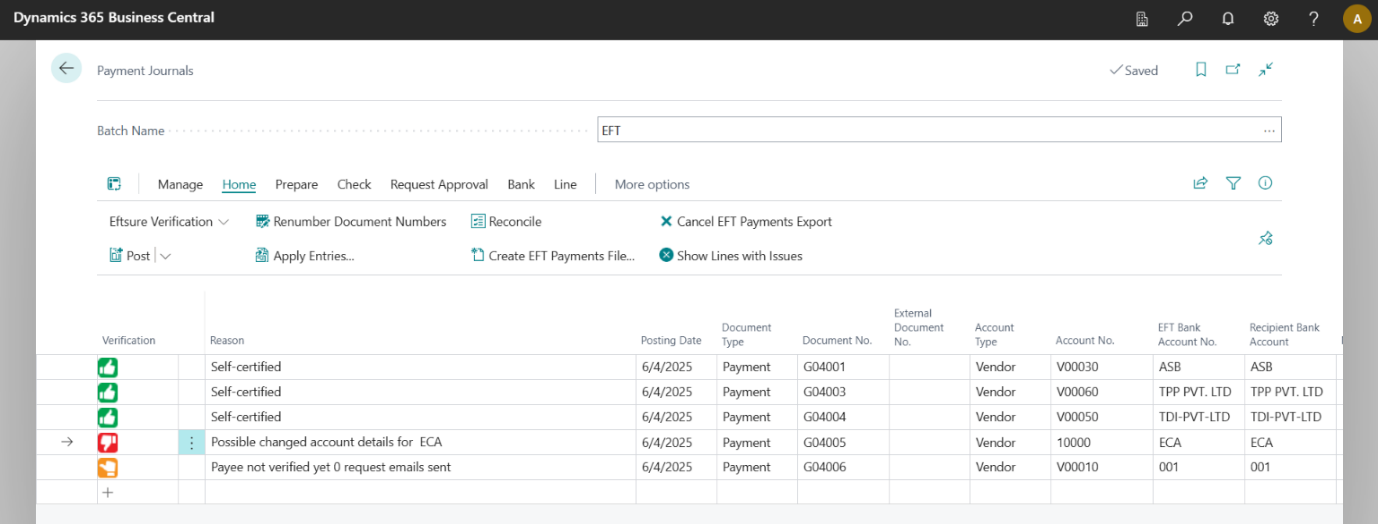
The payment verification is complete, and the user can take the next course of action based on the verification and the reason associated with it.
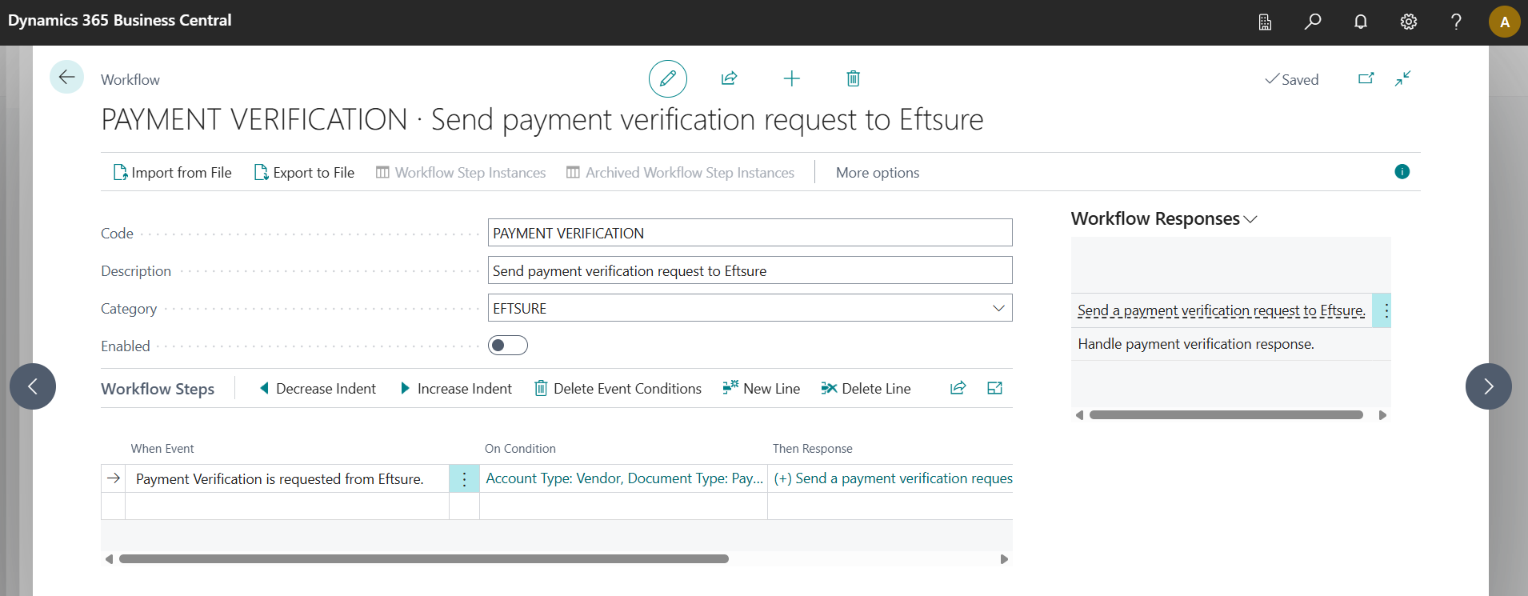
Workflows:
Workflows can be created and set up to automate the manual actions that we covered above.
Examples:
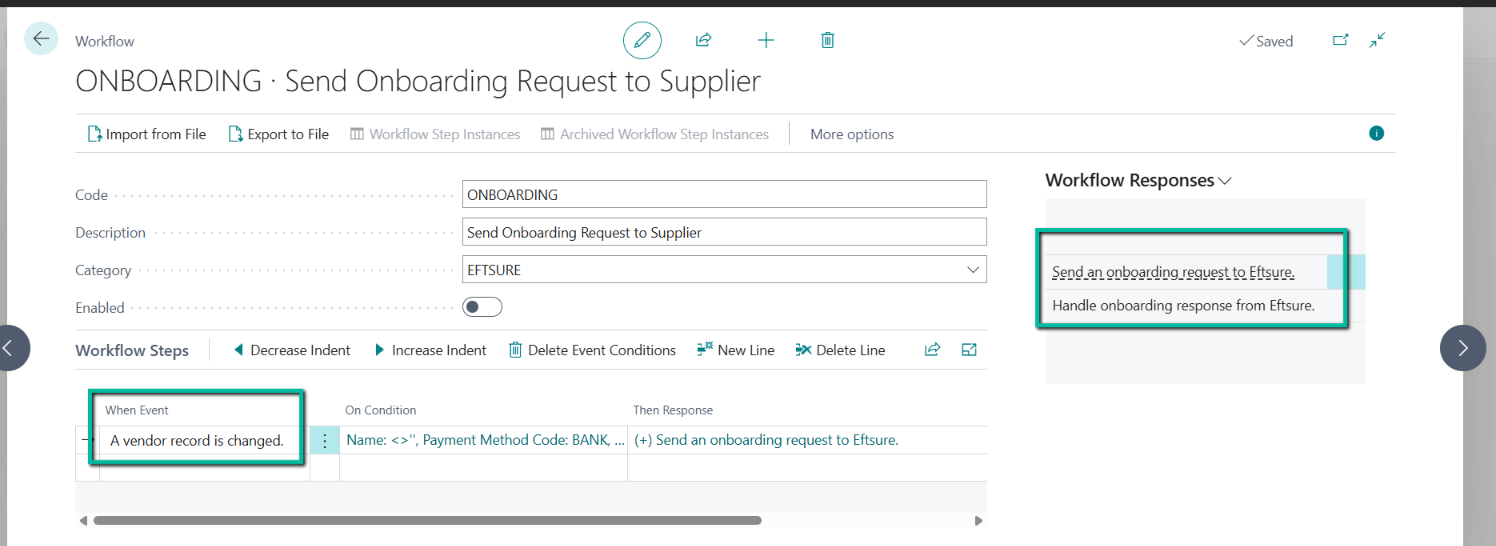
Supplier Onboarding:
If a vendor is created/changed in Business Central and mandatory fields like Name, Email, Payment Method Code etc. are filled in, a workflow can be configured as below to send an onboarding request to the supplier automatically.
Payment verification:
Payment journals are created by the user and once the entry is completed, the user can trigger the below workflow by an action to verify the payment.
Note: A manual action is required in this scenario so that user can confirm that he has entered all the journal lines and is ready for verification.