Invoicing Consignments
In this section, we describe the process of creating vendor invoices for the services related to the consignment (e.g. freight, duty, etc.). At this stage, we assume that the consignment is linked to one or more purchase orders and you have posted a receipt for the goods that have been received.
In our example, we have not yet invoiced the purchase order. You can invoice the purchase order after the receipt is posted. The purchase order can be finished before the consignment is finalised - you do not need to hold back invoicing the purchase order before the costs have been posted to the consignment.
To create invoices for the service vendors, you need to access the relevant consignment already created. You can access the relevant Consignment as follows:
- From the role center:
- Select the Advance Landed Cost menu in the role center.
- Select Consignments.
- Using Tell Me
- Search for Consignments.
- From the purchase order:
- Click on the Search Icon, type Purchase Order, and click on the Purchase Orders.
- From the list of Purchase Orders, select the relevant Purchase Order and then click open the Purchase Order.
- Click on the Expand FactBox Pane.
- Move to the Consignment Details. You can see the related Consignment No. The Consignment Details in the FactBox pane displays other related details about the Consignment. Status, Expected Receipt Date, Container No, Vessel Name, and Waybill No.
- Click on the Container No. to open the Consignment page directly.
Create Service Invoices in Consignment.
This section explains the process of creating service invoices for the consignment lines. The consignment lines consist of the Charge Items with the predicted cost and the relevant Service Vendor.
The consignment lines are separated in two tabs as follows.
Consignment Lines- Per Consignment
This tab shows Charge Item lines for landed costs created per consignment basis. These landed cost lines calculate and assign landed costs for multiple items in the related purchase order.
Consignment Lines – Per Item
This tab shows Charge Item lines for landed costs created on a Per-Item basis. The lines contain landed costs assigned to one item/category in one Purchase Order.
To create service invoices in this section, move to the Per Consignment section.
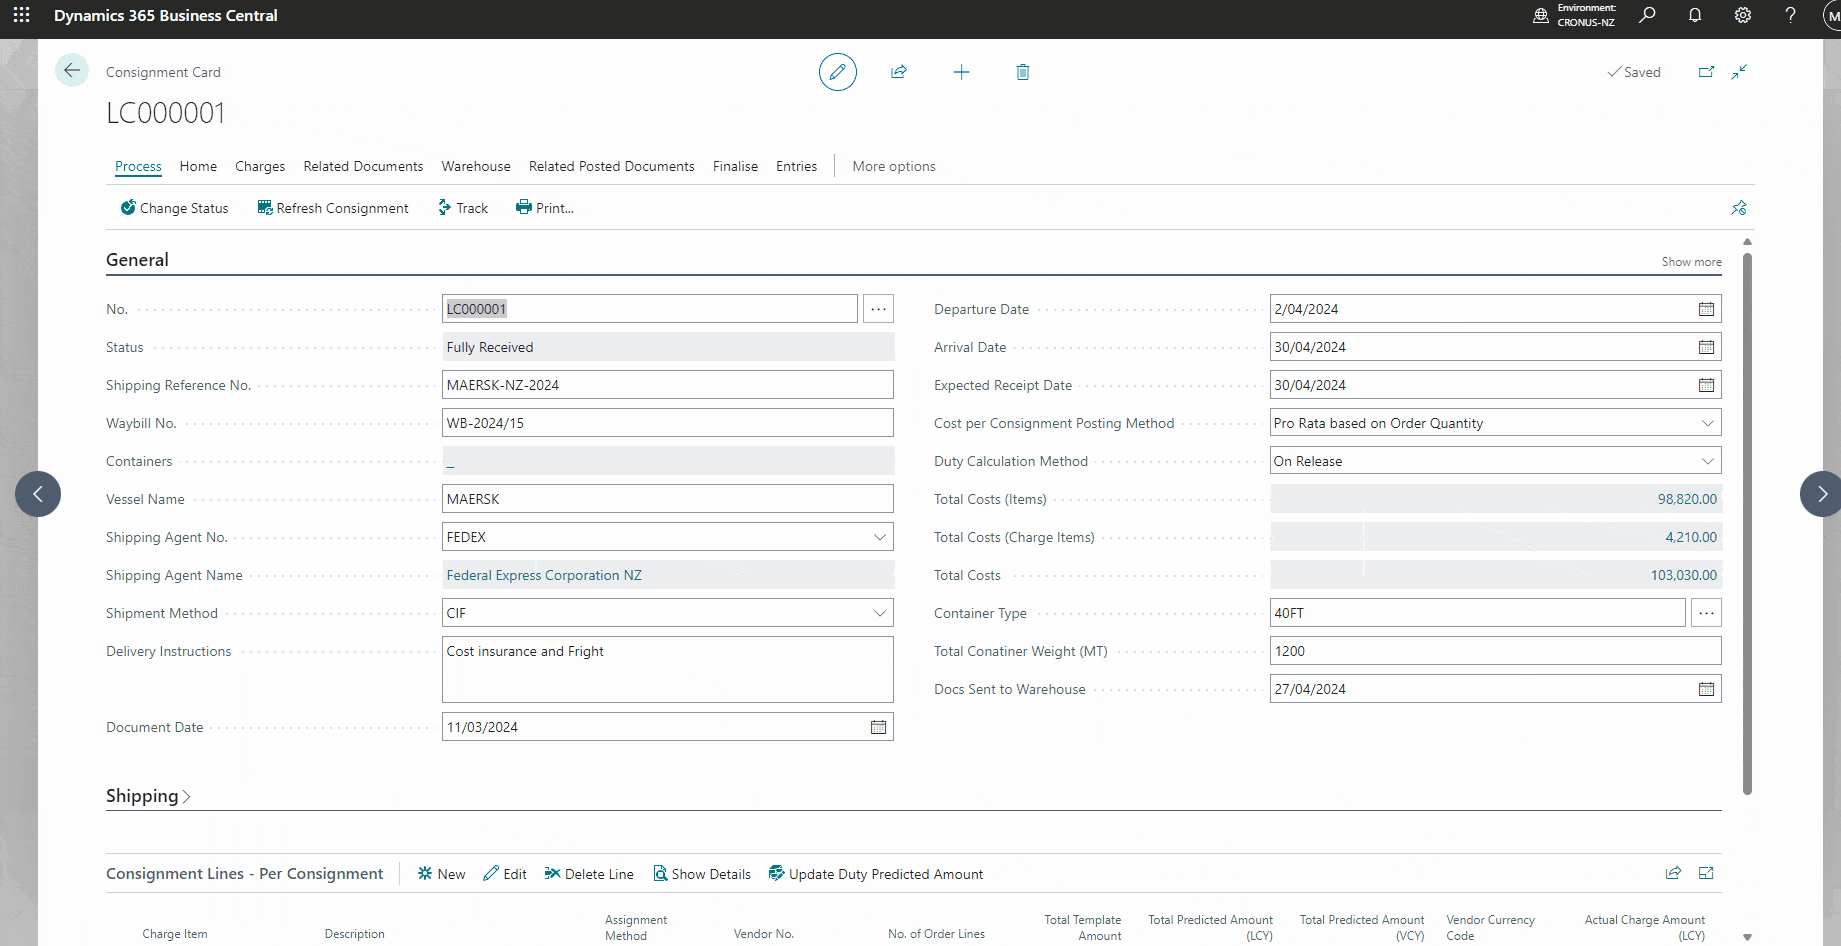
1.  Select the Charge Item line that you want to invoice now. The extension displays the Total Predicted Amount in local and Vendor currencies (if any). The charge item lines show Vendor No. for the service invoices.

2.  You can move to the Navigation menu. Click on the Charges menu item and then Create Charge (Item) Invoices option to create the invoices for the service / Item charges.

3.  Alternatively, you can create Purchase Orders for the service/item charges.

4.  Once you click the Create Charge(Item) Invoice option, this App will create Purchase Invoices concerning each Charge(item) line in the Per-Consignment lines.
This will automatically open the Purchase Invoice List page and display the created Purchase Invoices. Users can click any of the purchase invoices and open the purchase invoice to complete and post the Consignment service invoices. This App, would transfer the Predicted Cost amount into the respective Purchase lines. Users can change this amount to the actual service amount the vendor charges for this consignment.
You can leave this page and leave the Purchase Invoice to complete later.
You may follow the below steps to post the Charge(item) Invoices that are created in the above process.
1. Click on the Related Documents in the Navigation menu. Click on the Charge(item) Invoices (Or Charge (Item) Orders) to view the Un-posted Purchase invoices that are created in the above process.
Complete the details of the purchase invoice and post the Purchase Invoice as follows.
2.  Click to open the selected Purchase Invoice. Enter the Vendor Invoice No. and change the posting date if required.

3.  Moved to the purchase invoice lines. You can change the Amount to update the Actual service charge amount. This actual amount can be different from the predicted cost amount.

4.  For the LC-FREIGHT charge item line, enter 2200.

5.  You can navigate to the Lines, Related Information, and then click on the Item Charge Assignments to view the apportioned amount as per the Purchase Line items.

6.  Post the Purchase Invoice.
View Posted Service/ Charge (Item) entries.
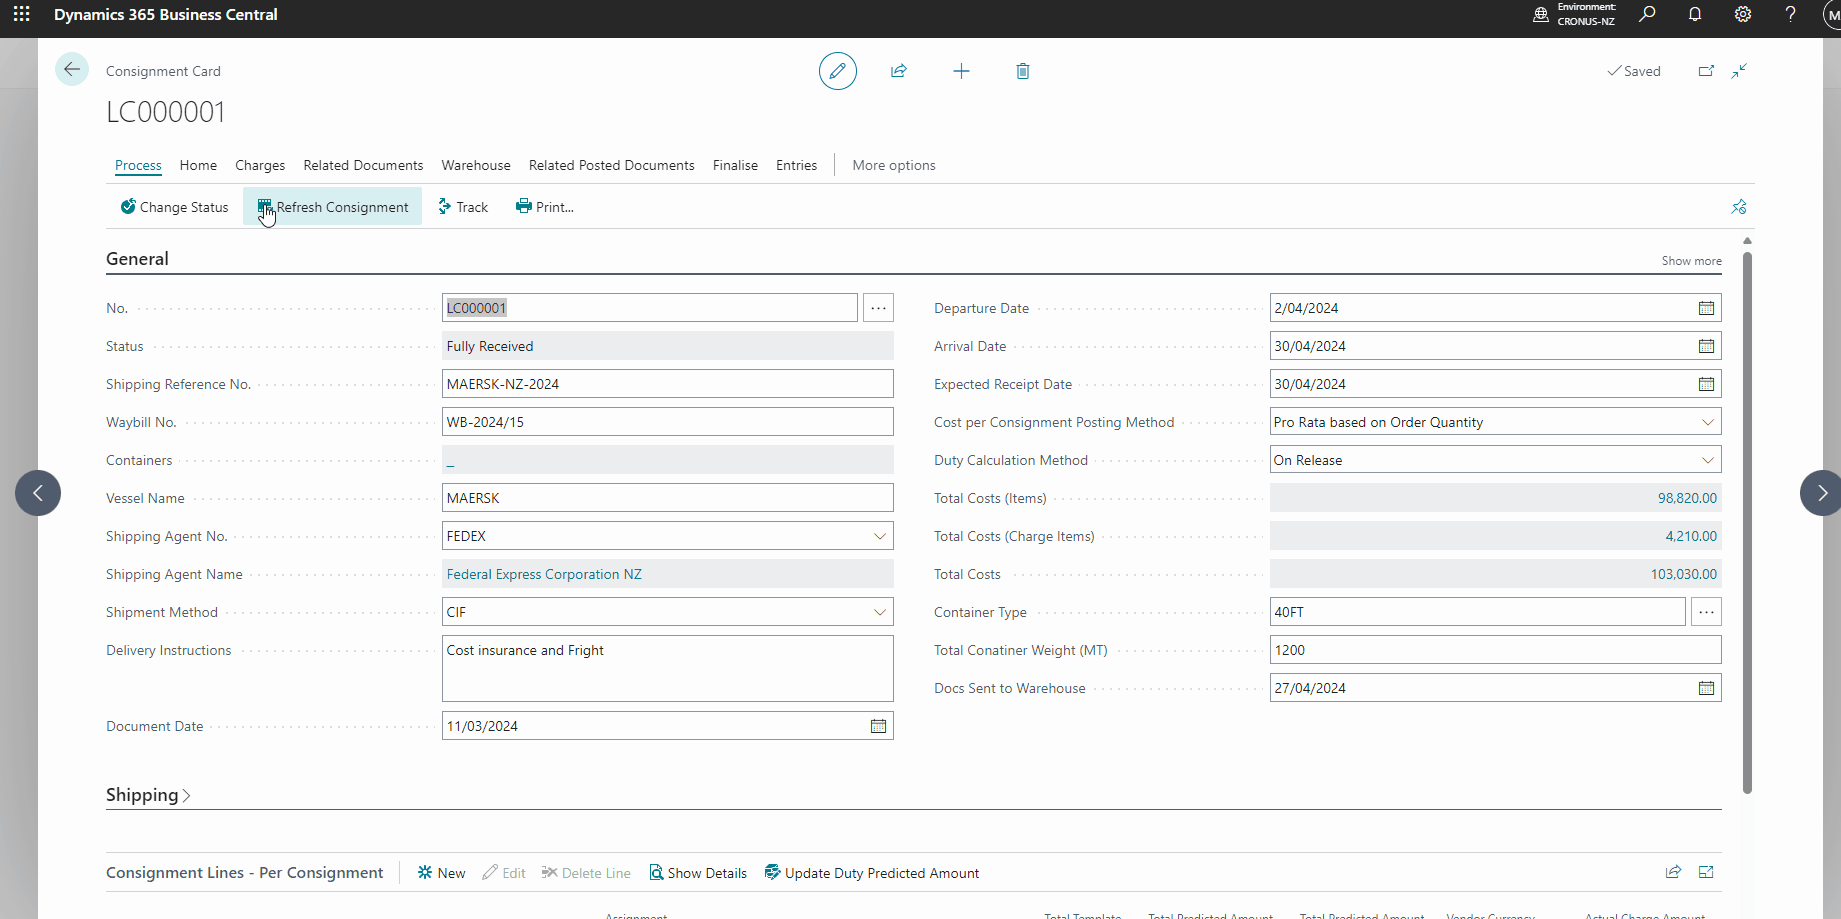
You can move back to the relevant consignment page.
Click on the Related Posted Documents and then the Posted Purchase Invoices to see the posted invoices related to this Consignment.
Users can view the Value Entries. The value Entries display the actual cost entries for the posted receipt lines. The predicted cost entries are reversed.
In the Consignment Lines tab, move to the Actual Charge Amount(LCY) column. You can see this column is now updated with the actual charge amount that is posted (2,200).
You can drill down and open the details of the Actual Charge Amount (LCY).
Value entries
You can check the Value Entries page attached to the consignment. Click on the Entries option and the Value Entries option in the navigation menu. The Value Entries page displays the cost entries for the posted receipt lines and the Item charge lines. The Item charge lines here are posted based on the Predicted Cost.
Change Status to Finalised.
When all the Charge(Item) invoices are posted, you can change the Consignment document to Finalised. Once a consignment is finalised, then, it moves to the archive documents. The archived consignment documents are referred to as Finalised consignments.
You can follow the below steps to change the status of the Consignments into Finalised Consignments.
Navigate to the Process menu in the Navigation menu. Click on the Change Status option. The extension will prompt the user to choose from the below.
Open            : Click this to Open the Consignment again. You cannot open the Consignment if the Charge Items invoices are posted.

Fully Received  : Click this option to change the status of the consignment into Fully Received manually.

Finalised       : Click this option to Finalize and send the consignment document to archive/Finalised.
In this scenario, click on the Finalised option.
The App will prompt the user to confirm the status change to Finalised.
Click Yes to Finalize the consignment.
When a consignment is Finalised, the consignment document will move to the Finalised Consignment Page.