Getting Started
Excellent Importer is very quick to set up. You must activate your trial, assign user permissions, and create an import template. This page takes you through these steps.
Activating Excellent Importer
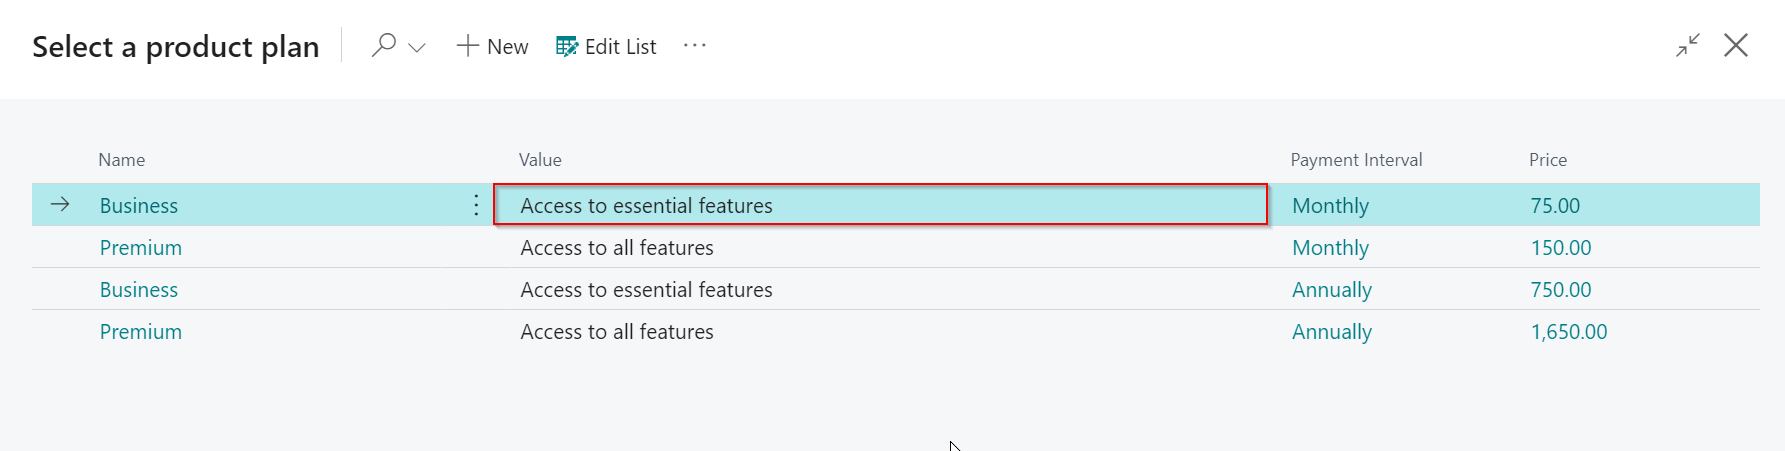
Excellent Importer has two subscription plans. The Business plan gives you access to all essential features, and the Premium plan gives you access to all features. Here is a comparison between our Business and Premium plans.
You do not need to enter payment details to activate the trial.
Step-by-Step Guide - Activating Excellent Importer
You must activate the subscription against the tenant. Therefore, a user from the tenant must sign in. If you sign in with your user credentials, then it will create the subscription against the partner tenant.
Please work together with the end user while activating the subscription.
The following steps will guide you through how to activate Excellent Importer in your environment with a free trial after installing the app.
-
When Excellent Importer gets installed, you will see a notification in the role centre as per the image below:
 Click Set up an account to activate your free trial and follow the on-screen guide.
 -
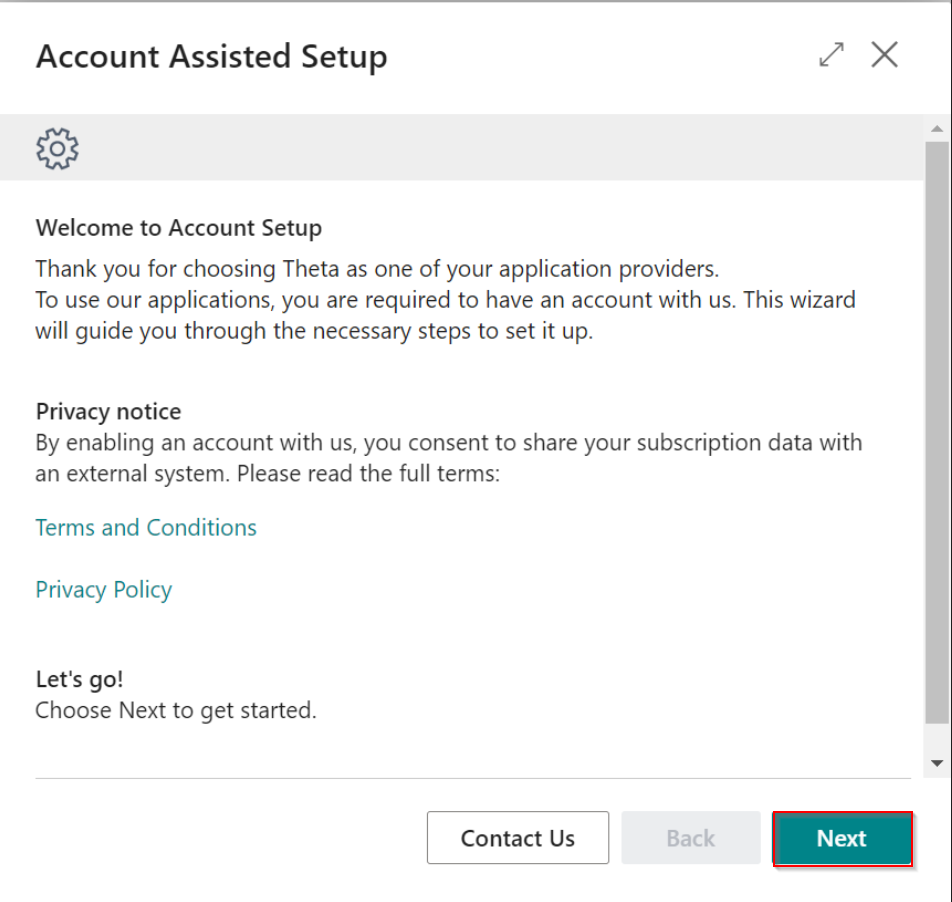
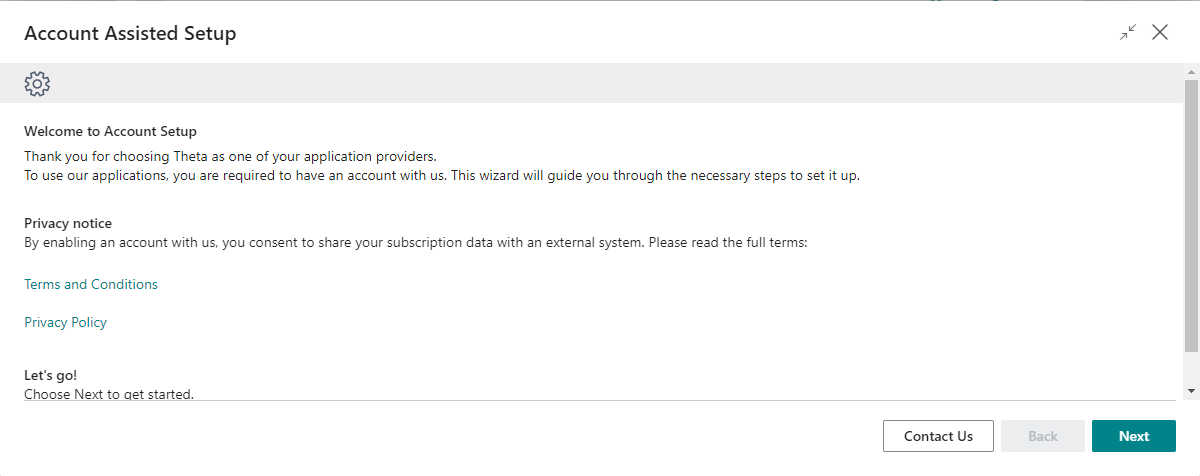
Click Next once you have reviewed the terms and conditions and the privacy policy.
-
Enter your Company Name, First Name, Last Name and the Currency Code and then click Sign Up.
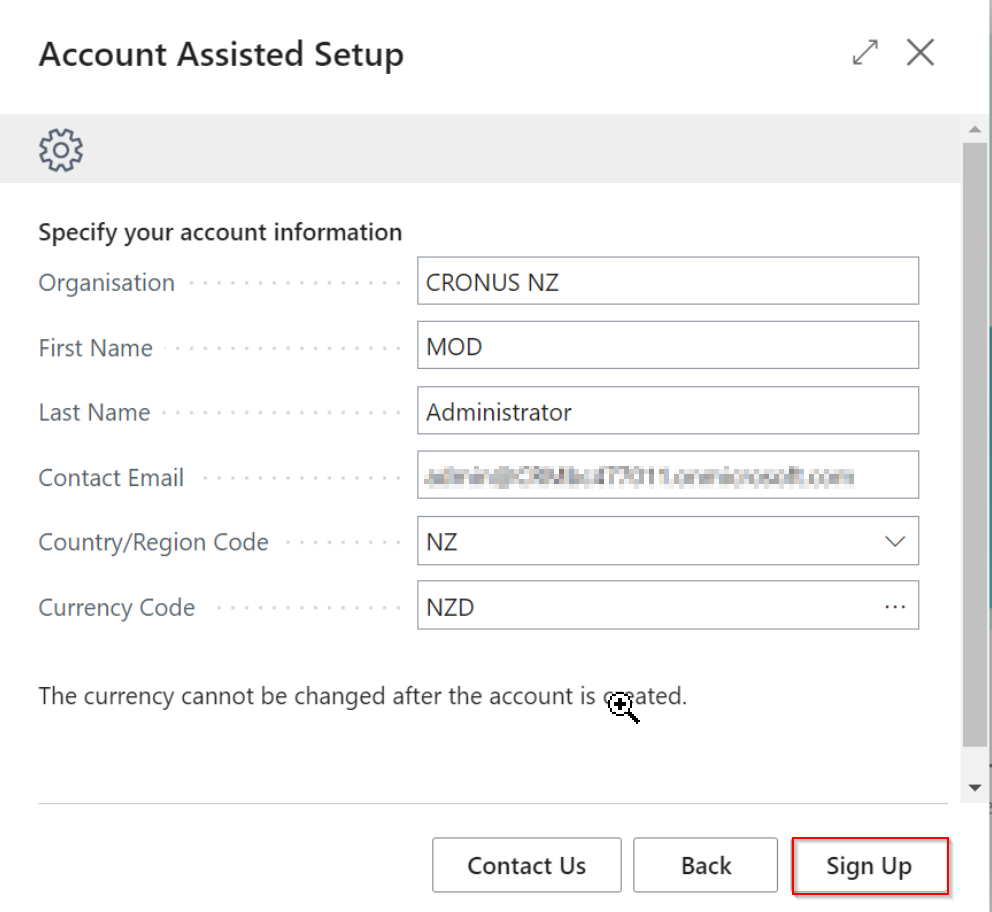
Please ensure you have selected the correct currency code because you cannot change this after the account is created.
-
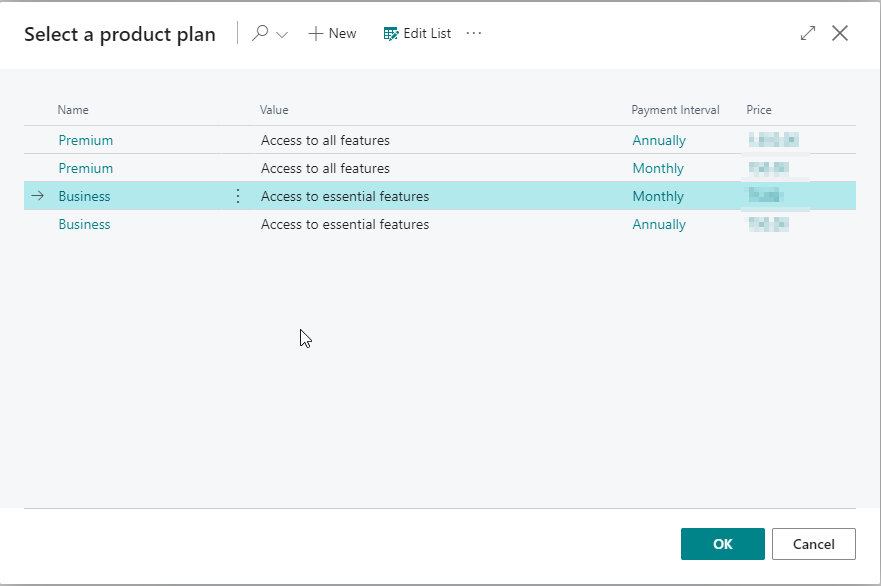
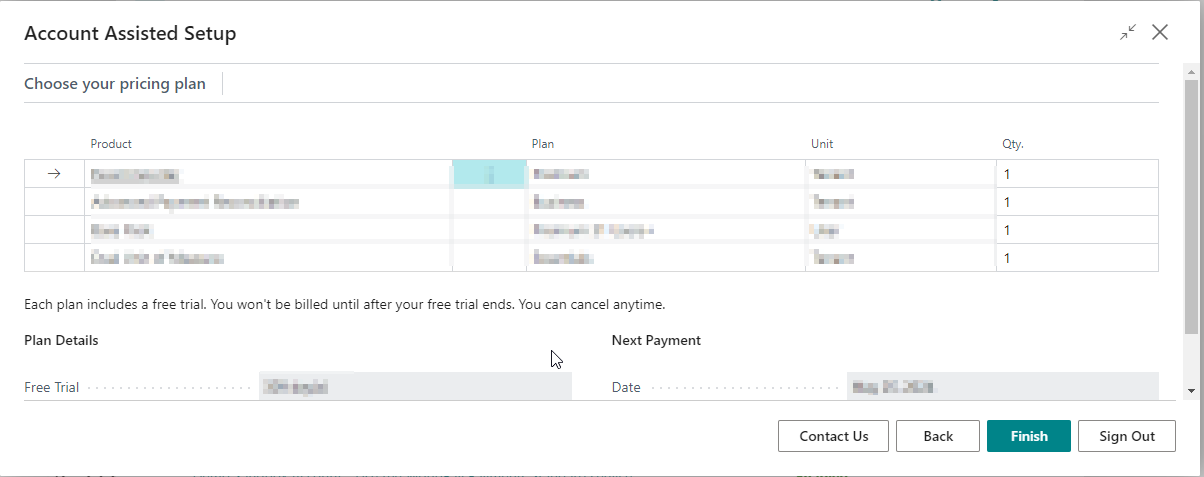
Click on the link in field Plan with the value Please select...

-
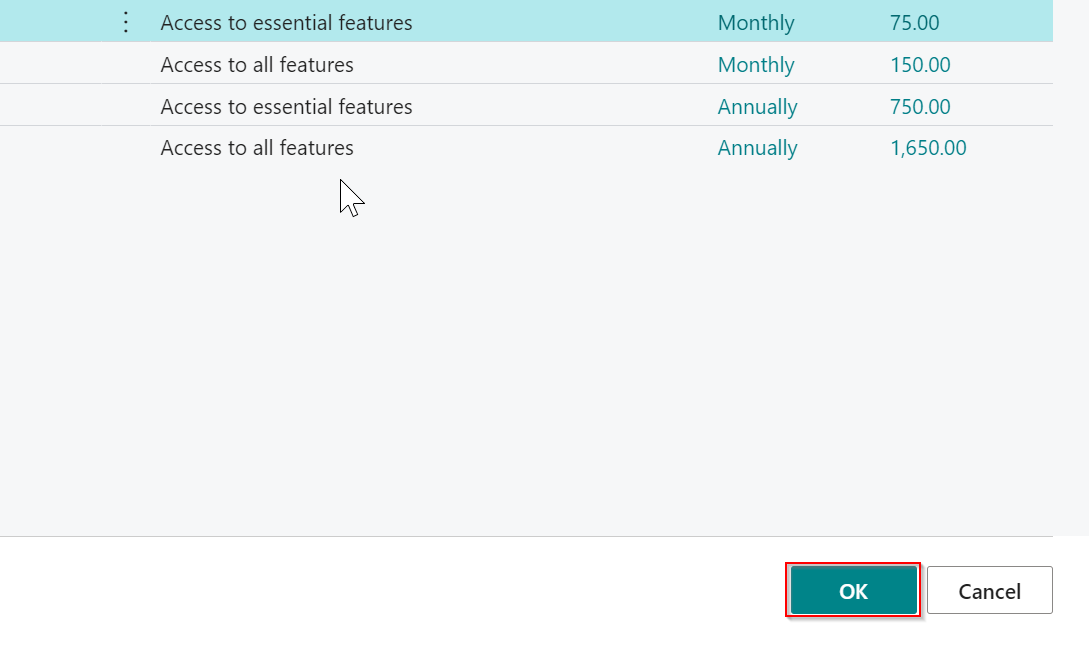
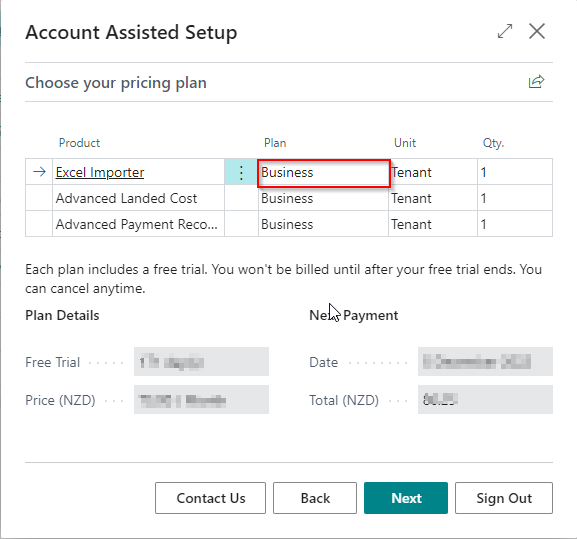
Choose the Plan and Payment Interval that best suites your needs. You can always come back and select a different plan.
-
Click on the button OK
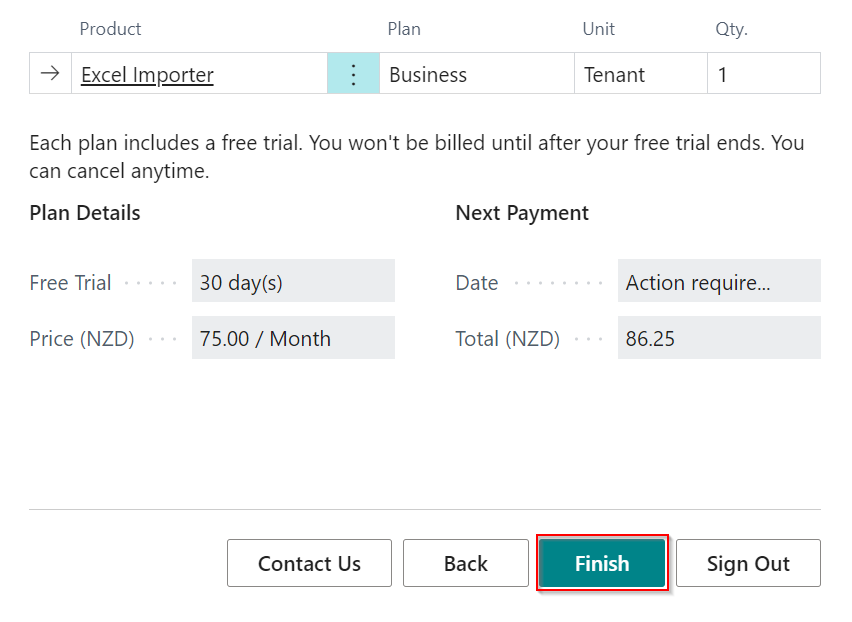
-
Click on the button Finish
Updating Subscription or Payment Details
Here are the steps to update your subscription if you have already activated Excellent Importer:
-
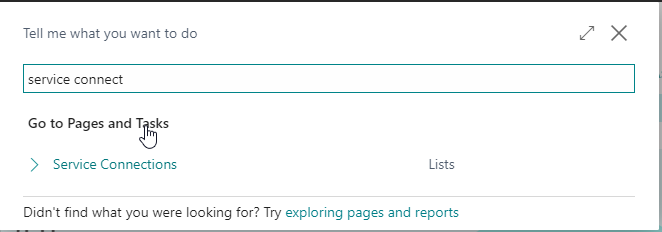
Open the Service Connections page.
-
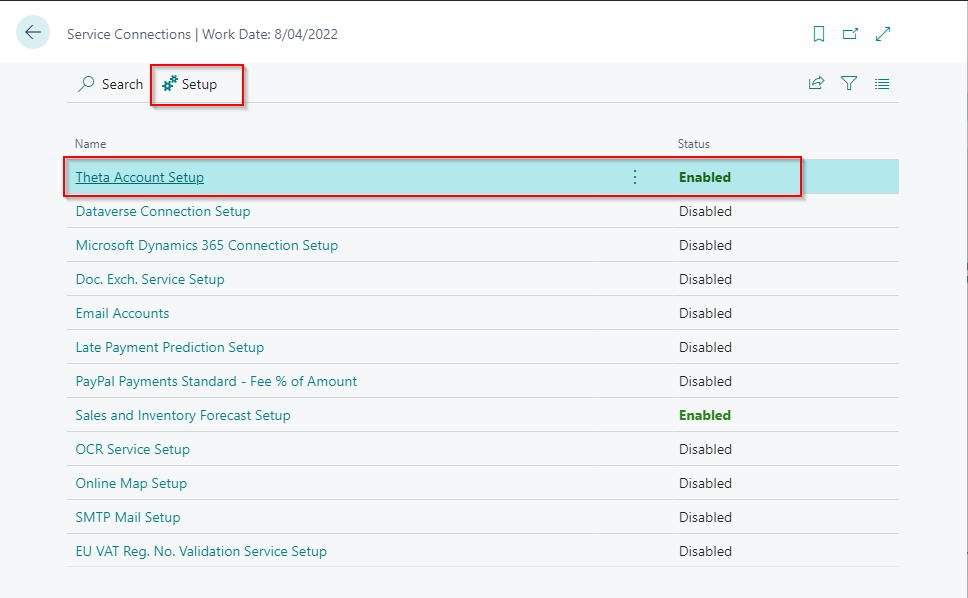
Select Theta Account Setup and click the Setup action.
-
Sign in (if requested) and update the plan if required
- You can select an annual plan to avoid getting billed monthly.
- Business versus Premium
-
Update your billing details
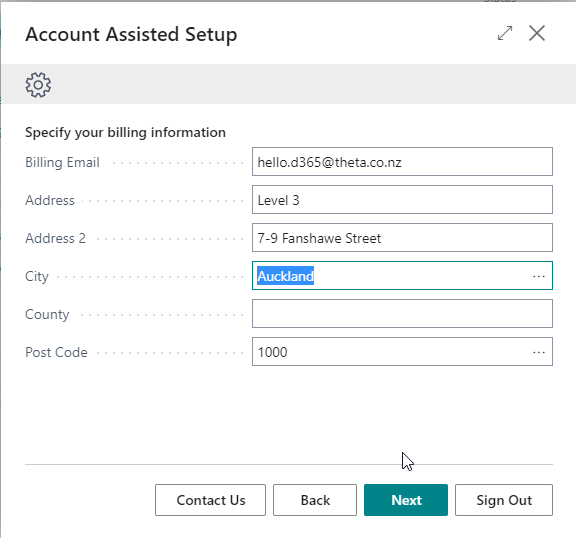
-
Update your payment information. If you need to use a different card, change the Method to Create a new card.
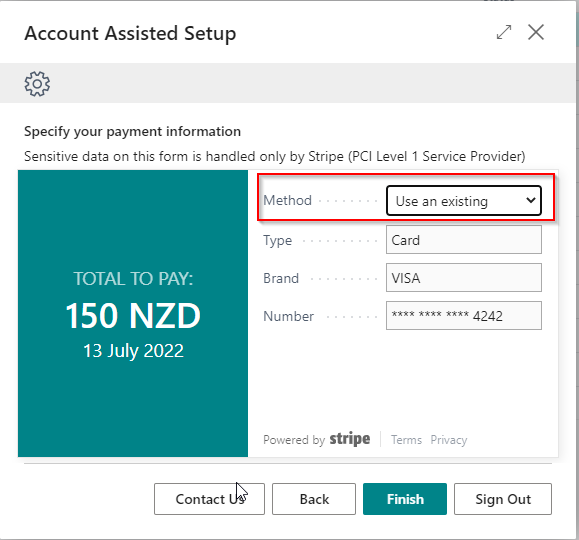
-
Click the Finish action once you are done.
Refreshing the subscription status
You must carry out this process against the tenant. Therefore, a user from the tenant must sign in. If you sign in with your user credentials, it will reference a subscription against the partner tenant.
Please work together with the end user while refreshing the subscription.
When your trial ends, the app gets disabled if you have either not entered payment details or if the payment details fail. When you update the payment details and resolve this, the subscription status may not refresh automatically due to caching that we do for performance reasons. You can follow the steps below to fix this:
-
Open the Service Connections page.
-
Select Theta Account Setup and click the Setup action.
-
Click the Sign Out action and confirm that you wish to turn off the apps.
-
Select Theta Account Setup and click the Setup action again.
-
Click the Next action.
-
Click the Finish action.
Excellent Importer Setup Wizard
This wizard will assist you in downloading sample Excel Mapping Templates and assigning permissions.
Step 1: Download Sample Templates
Here you can download sample Excel Mapping Templates. We configured several templates that you can use to import opening balances into Business Central. We recommend downloading these templates even if you do not need to process opening entries because it gives you examples of functioning templates.
The templates get downloaded as a configuration package, and they can be applied automatically without leaving this page. The configuration package only updates tables that are part of the Excellent Importer extension and will not impact anything else. If you already have Excel Mapping Templates configured, Preview Package Before Applying gets set automatically. You can optionally enable it if you prefer to check the configuration package before it gets applied.
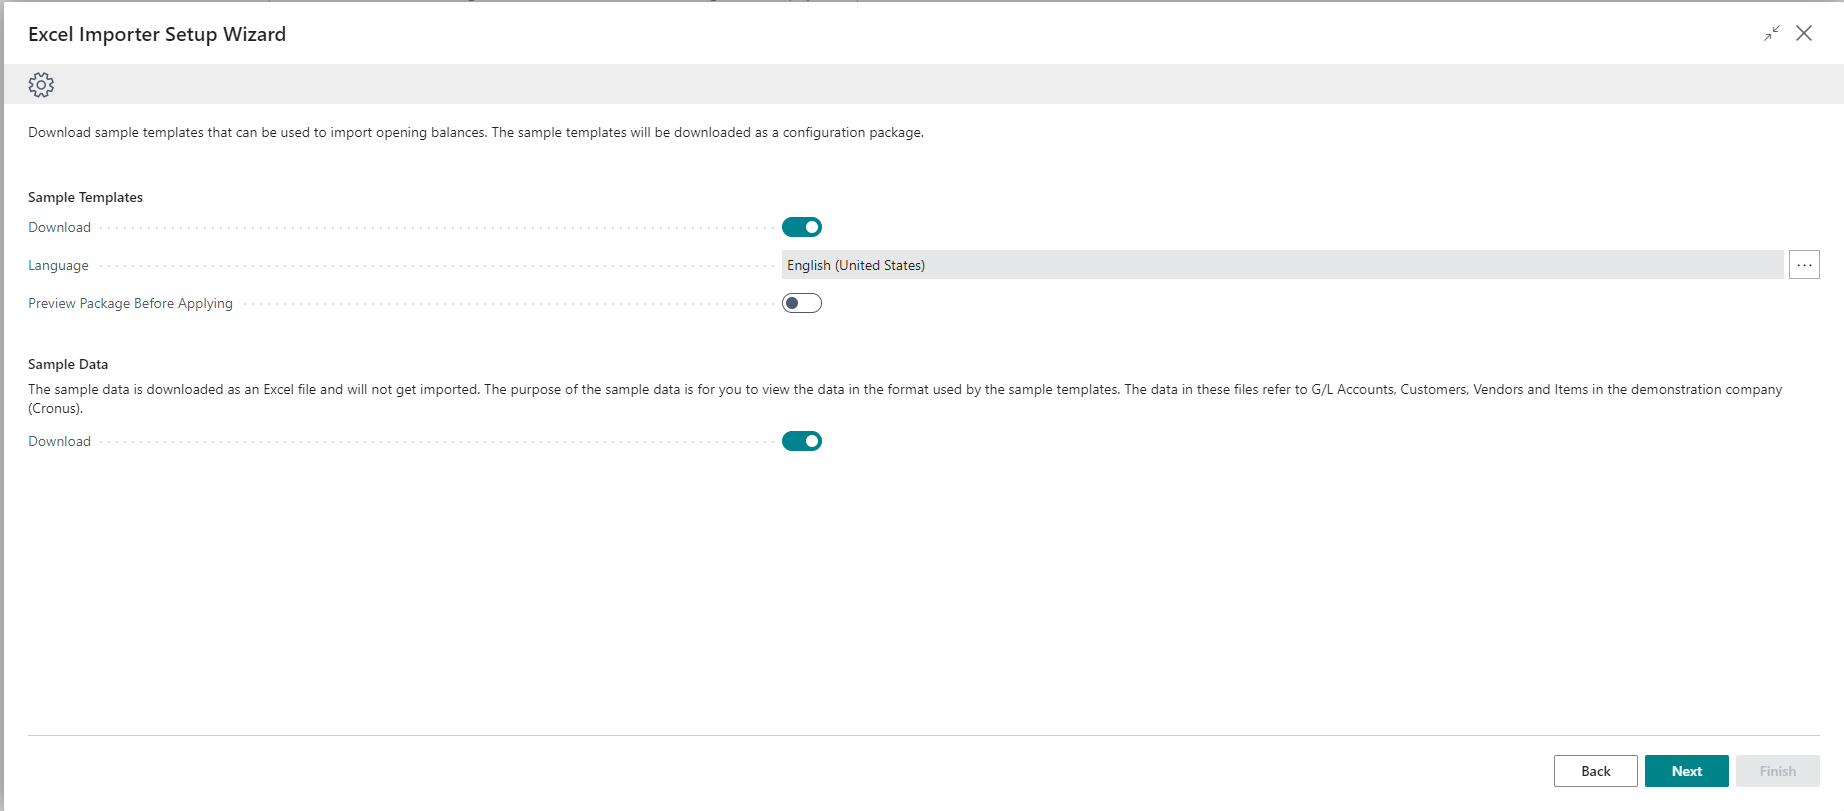
The sample data is downloaded as a zip file and will not get imported. The purpose of the sample data is for you to view the data in the format used by the sample templates. The data in these files refer to G/L Accounts, Customers, Vendors and Items in the demonstration company (Cronus). This means that could import this sample data into a demonstration company using the sample templates.
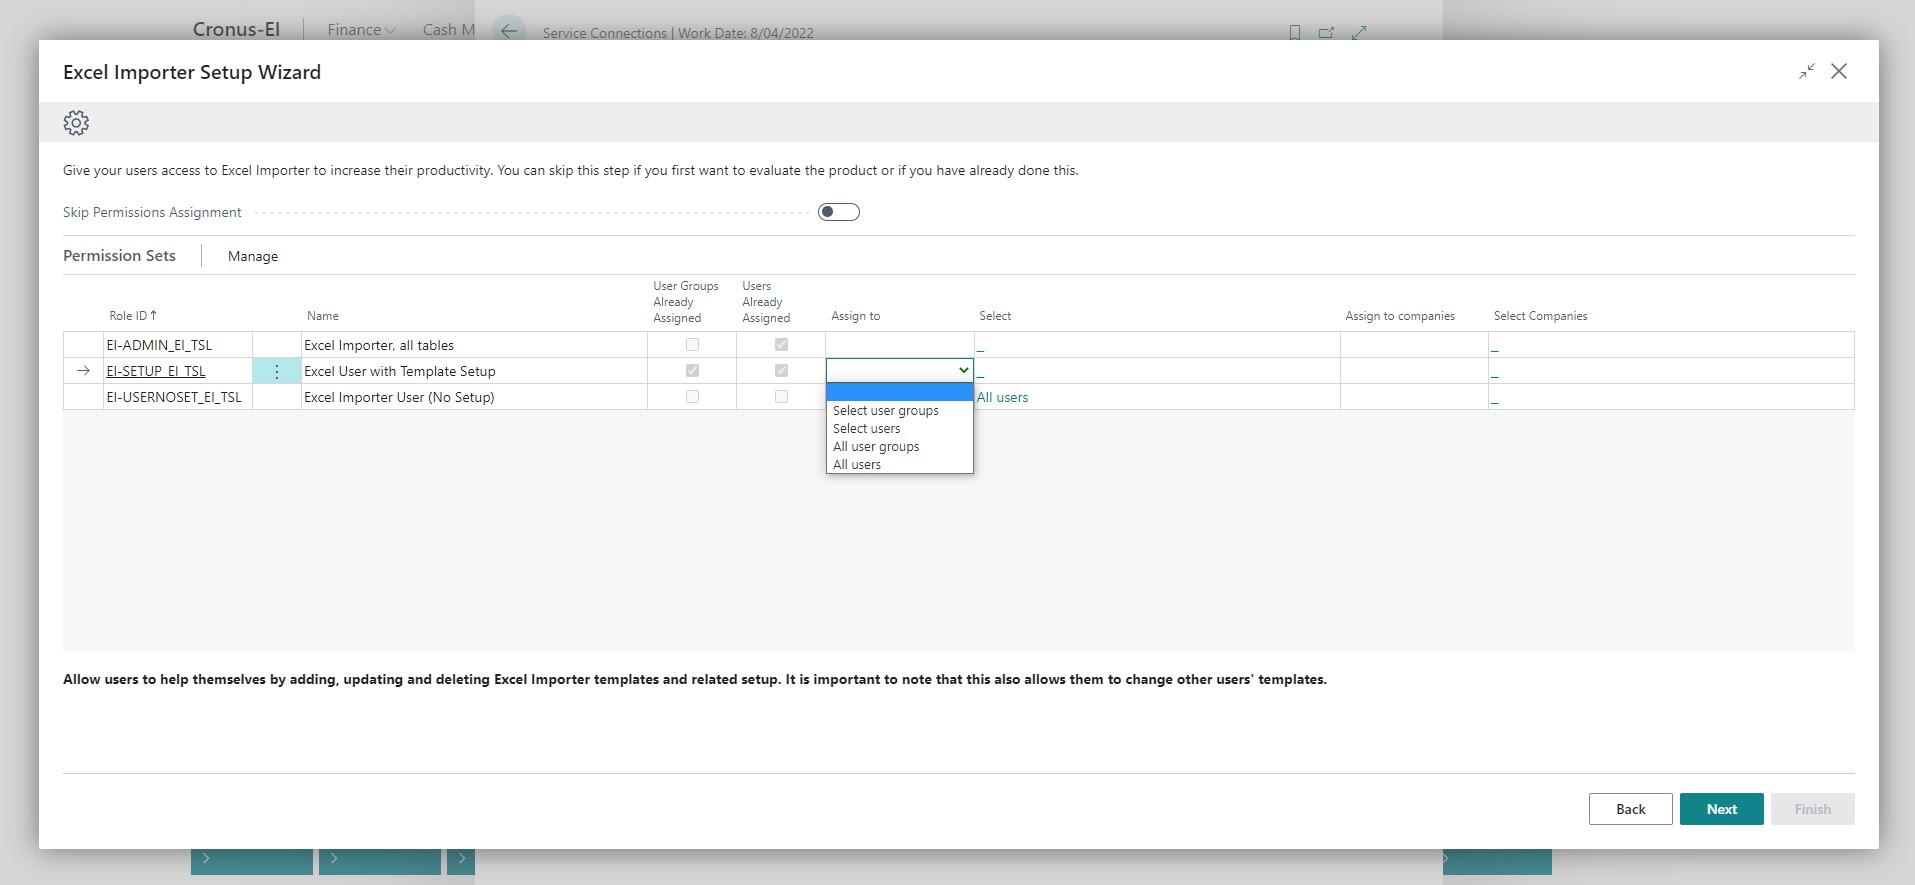
Step 2: Assign Permissions
In this step, you assign permissions to the users. The wizard will only show permissions that relate to Excellent Importer.
You can skip the permission assignment and come back later if you first want to evaluate Excellent Importer before assigning permissions.
When assigning permissions, please note:
- For each permission set, you can choose how you wish to assign it to users. Choose Blank for permission sets you do not wish to assign.
- If you choose Select Users or Select User Groups, you also need to select users/user groups in the Select field.
- If you choose Select Users or All users, you must select the companies using the Assign to Companies field, and the Select Companies field.
A detailed description at the bottom of the page provides more details about a permission set when you click on the permission set.
The Assign to Companies field allows you to specify:
- Assigned Companies - the permission set gets assigned to users for each company they already access.
- Select Companies - allows you to choose the companies where users should get access to Excellent Importer.
- All Companies - assigns this permission set to the users for all companies.
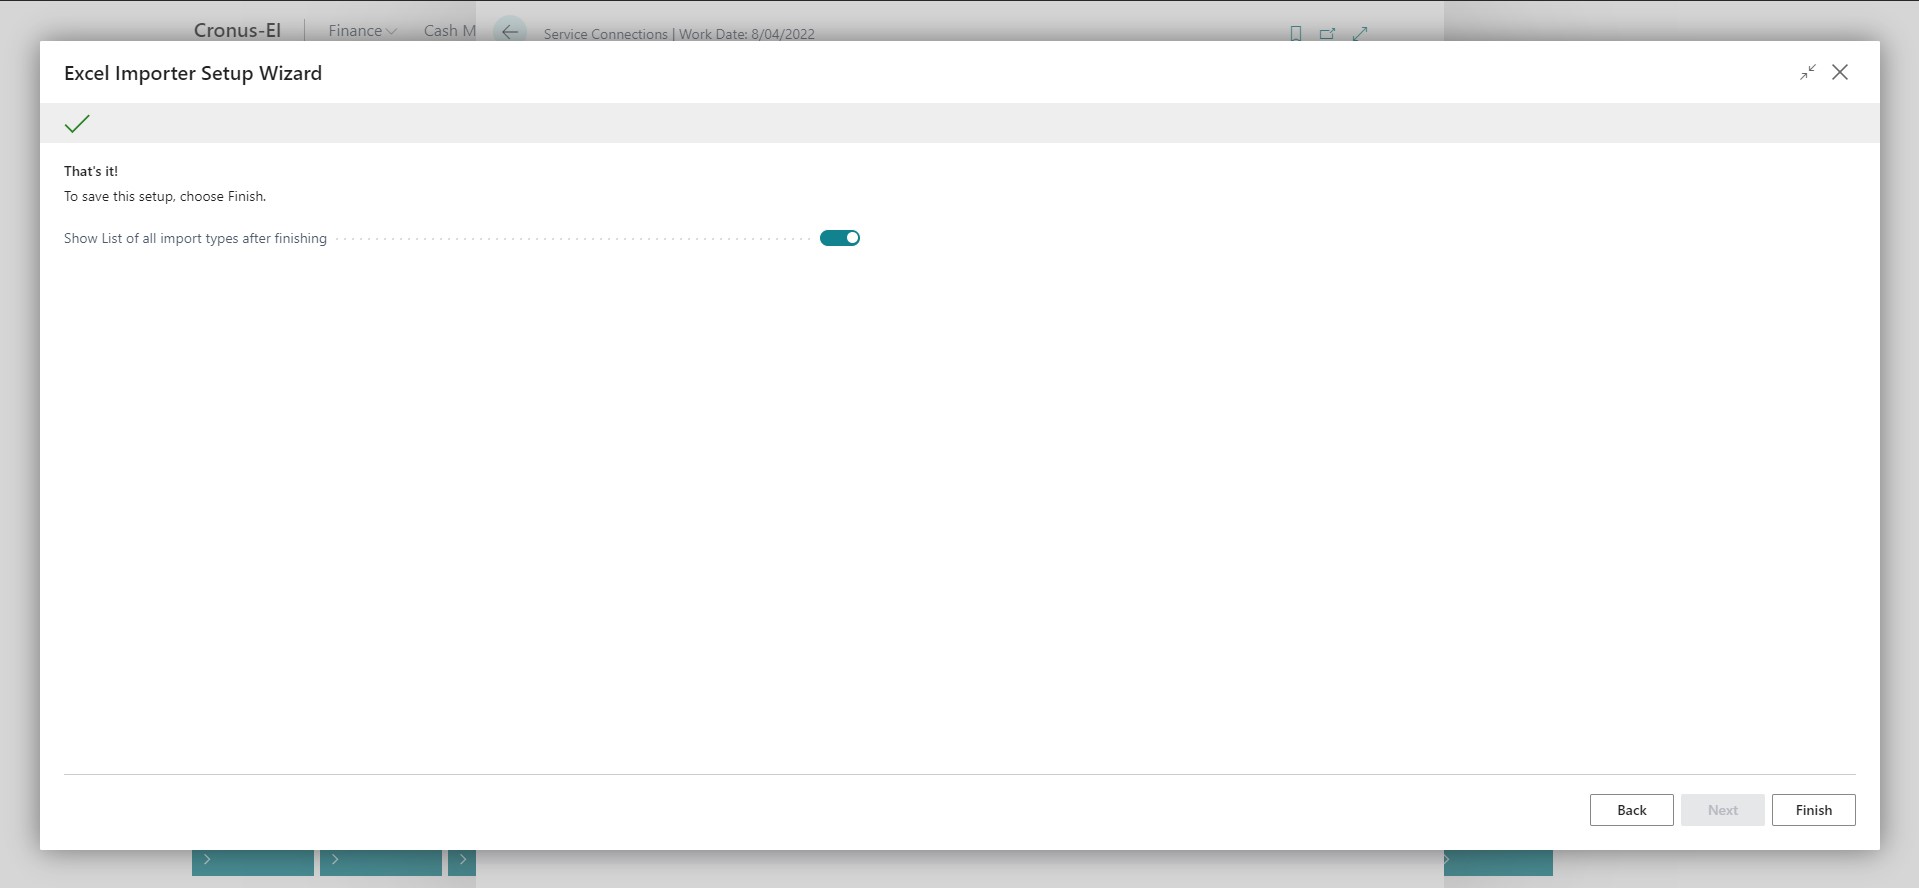
Finish
The setup changes (templates and permissions) are only applied when you click finish.
Assisted Setup
We have added the Excellent Importer setups to assisted setup.

- Excel Mapping Templates are used to map Excel columns to fields in Business Central.
- Account/Dimension Mapping gets used to map data in files with a different coding structure to Business Central.
- The Excellent Importer Setup Wizard assists you in downloading sample Excel Mapping Templates and assigning permissions.
Using Excellent Importer in an on-premises environment
To use Excellent Importer in an on-premises environment, you will need help from your partner. Your partner must take the following steps:
- Your partner needs to become an Authorized Reseller. We do not impose any certification obligations on partners that become Authorized Resellers because Excellent Importer is built for the cloud and designed to be easy to use. Contact us to request becoming a VAR.
- Your partner will need to add the ISV Module 70138725 Theta Extensions to your license file. This license file will need to get installed in your environment. There is no cost to add this module to your license even if you decide to discontinue using Excellent Importer.
- Your partner will request a runtime package which they will install in your environment. We recommend installing the extension in your sandbox environment first to try Excellent Importer.
- With Excellent Importer installed in your environment, you will be able to activate your free trial. You may require assistance from IT the first time you activate Excellent Importer in your environment because this requires elevated permissions.
Supported on-premises versions
We support all Business Central versions from version 15 and upwards.